Kids CraftsNo. 6031 · The 2026 edition
Decorate Paper Craft Pumpkins with Kids for Fall
Turn plain paper pumpkins into sparkling fall decor with this easy tissue-paper craft the whole family can enjoy.
Our own summary of the original — the full post and photos live at modpodgerocksblog.com.
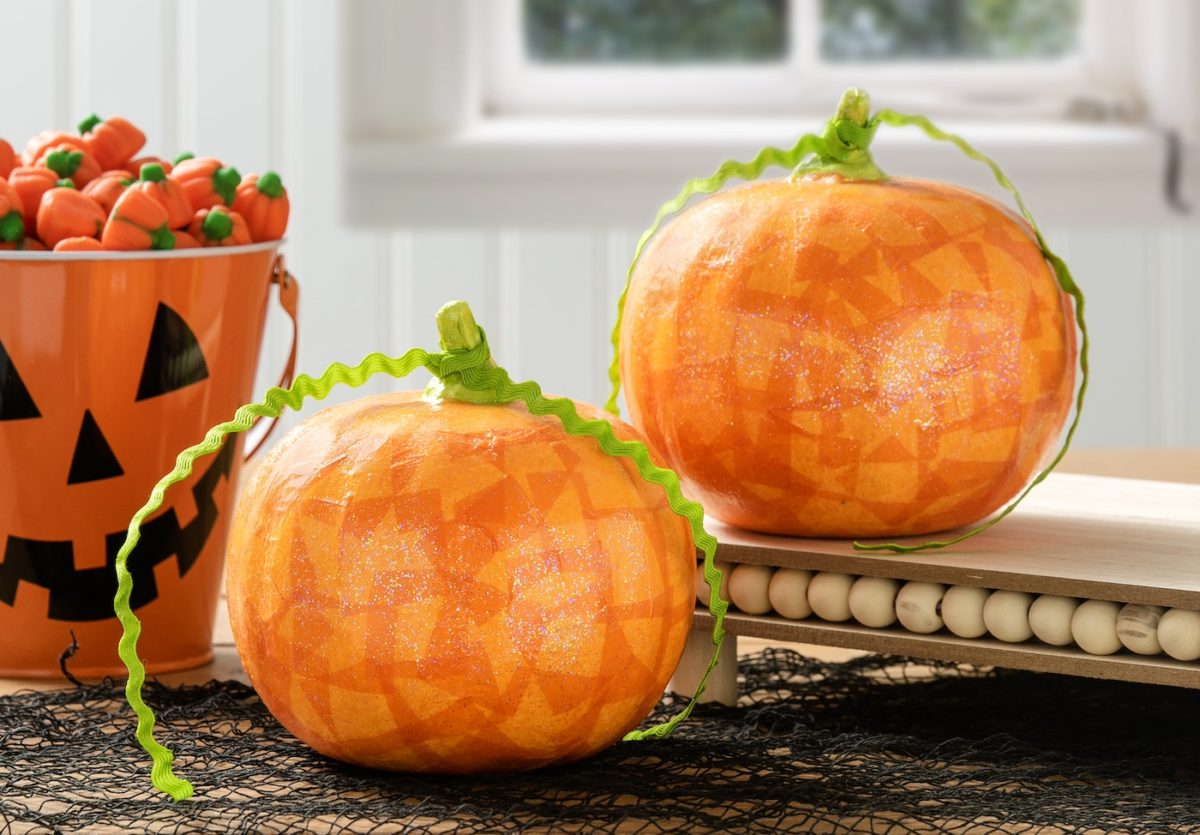
This kid-friendly project uses paper mache pumpkins, tissue paper squares, and Mod Podge to create colorful, glittery decorations. After painting a white base, kids cover the stem in green tissue and the body in orange, then seal with sparkle Mod Podge. Finish with a ribbon tied around the stem for a festive touch.
You'll need
Directions
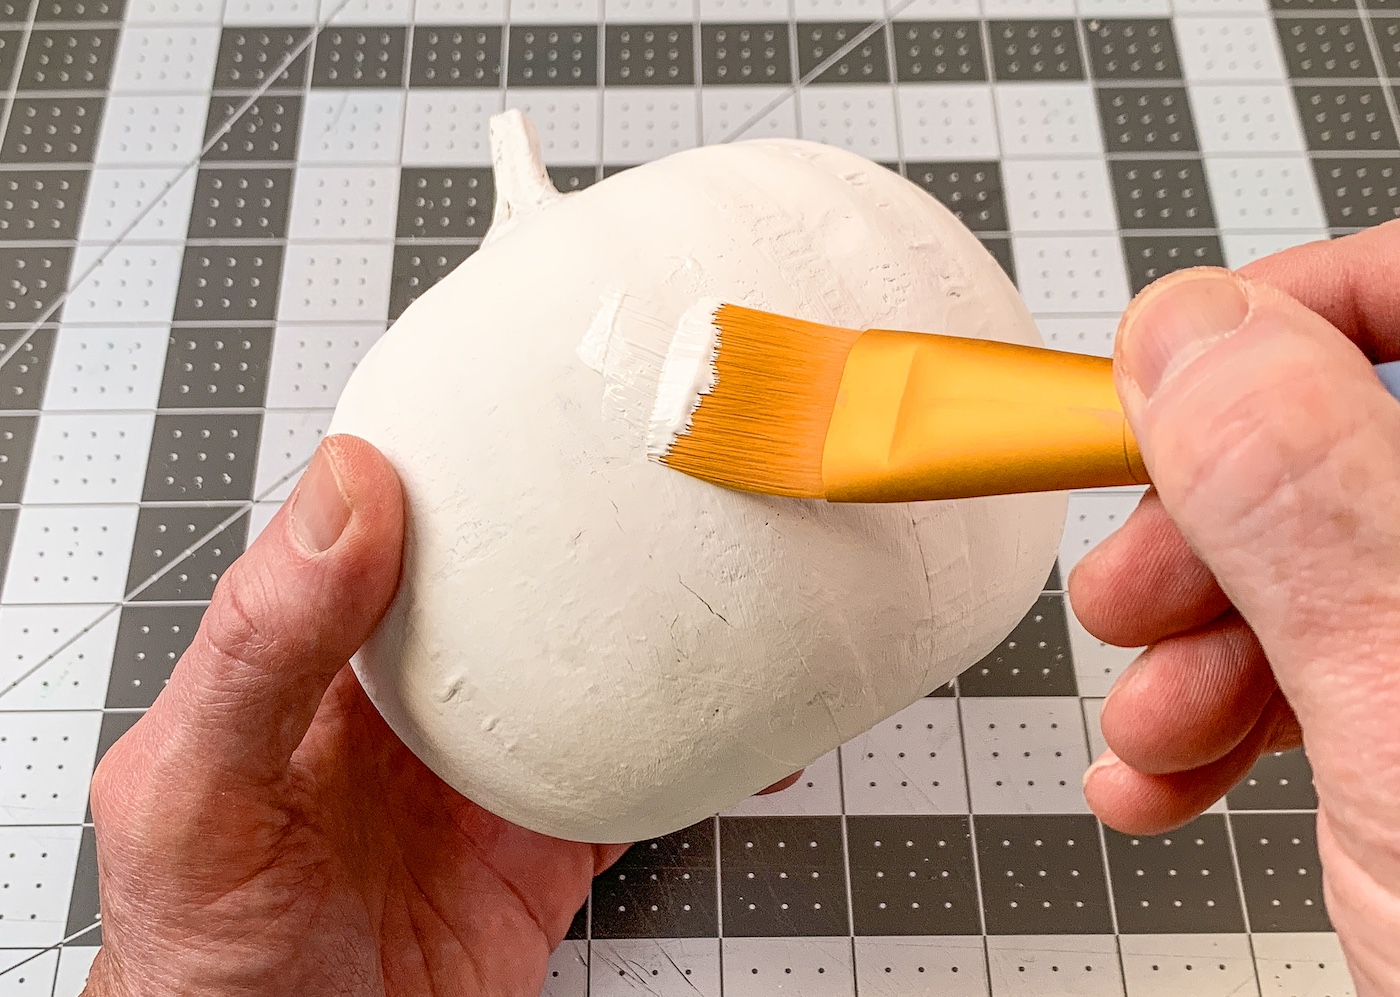
- Begin by giving each paper pumpkin a base coat of white acrylic craft paint. Wait for the paint to dry fully before moving on.
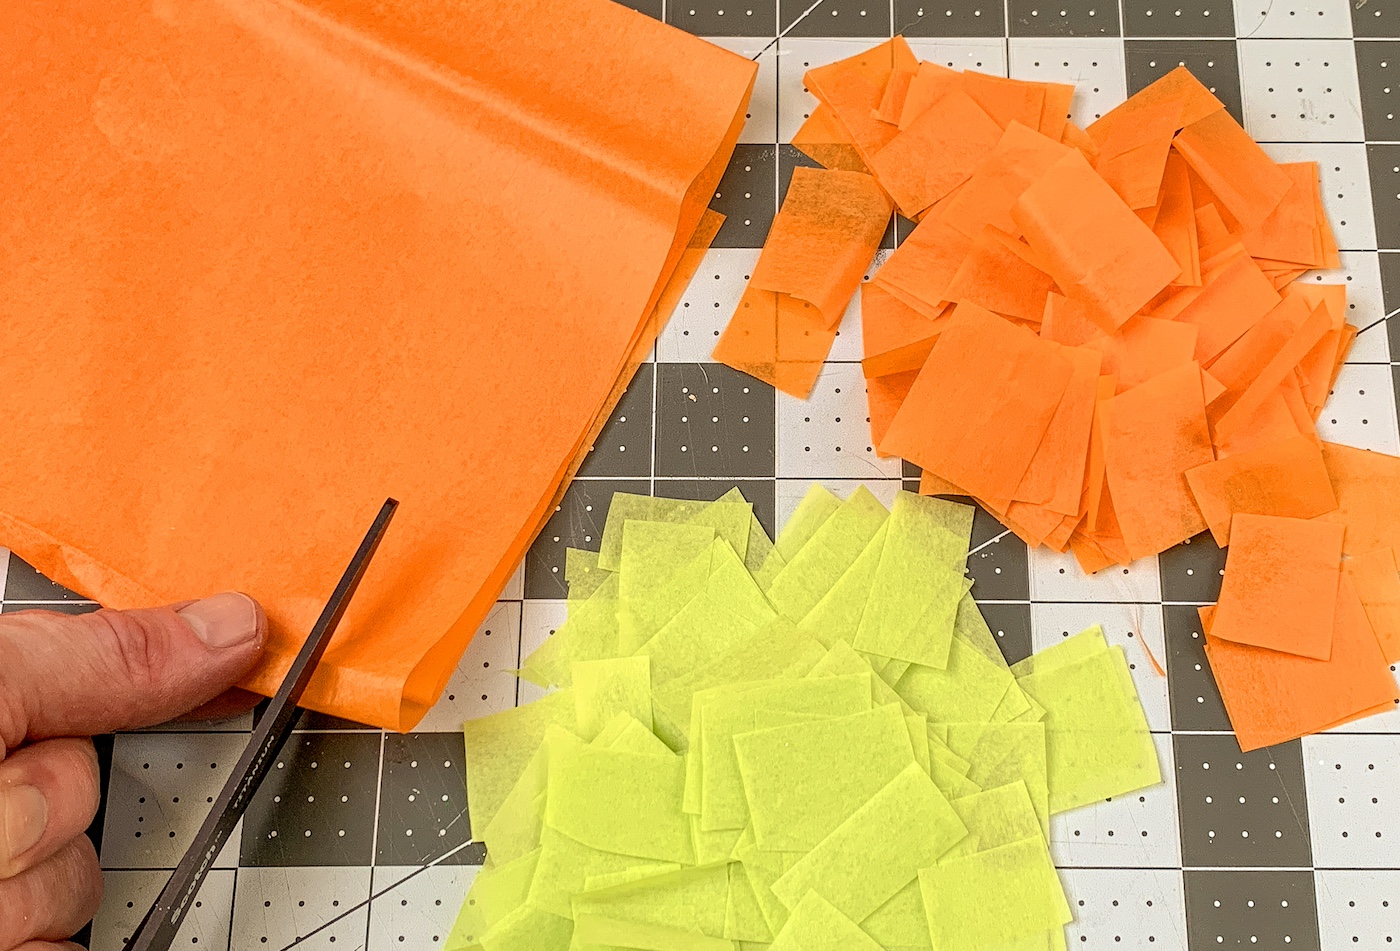
- While the paint dries, have the kids cut orange and green tissue paper into small squares and separate them by color.
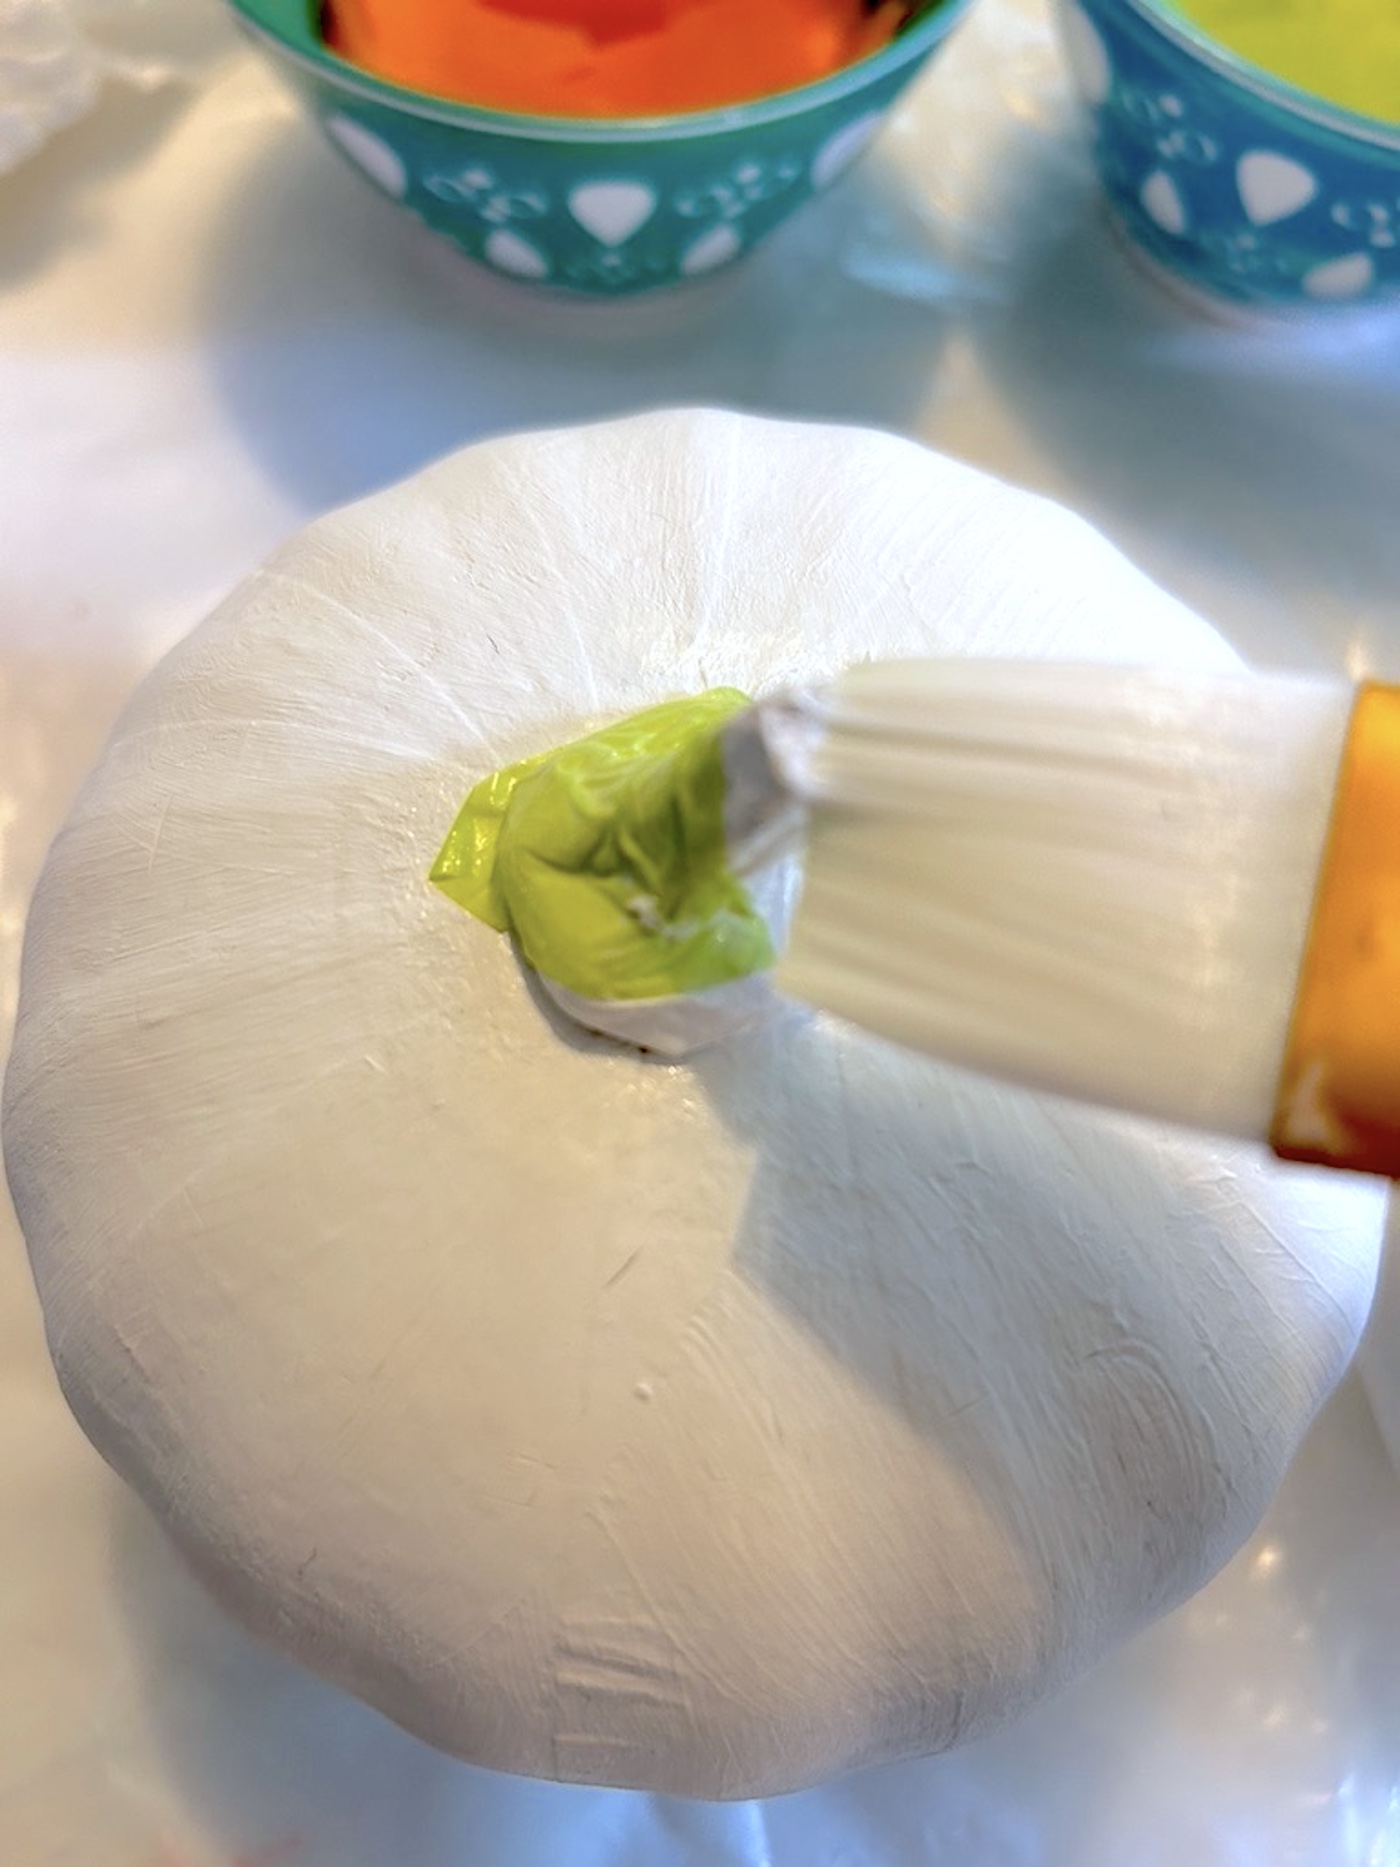
- For the stem, brush a layer of Mod Podge onto the surface, then press a green tissue square over it and smooth it down.
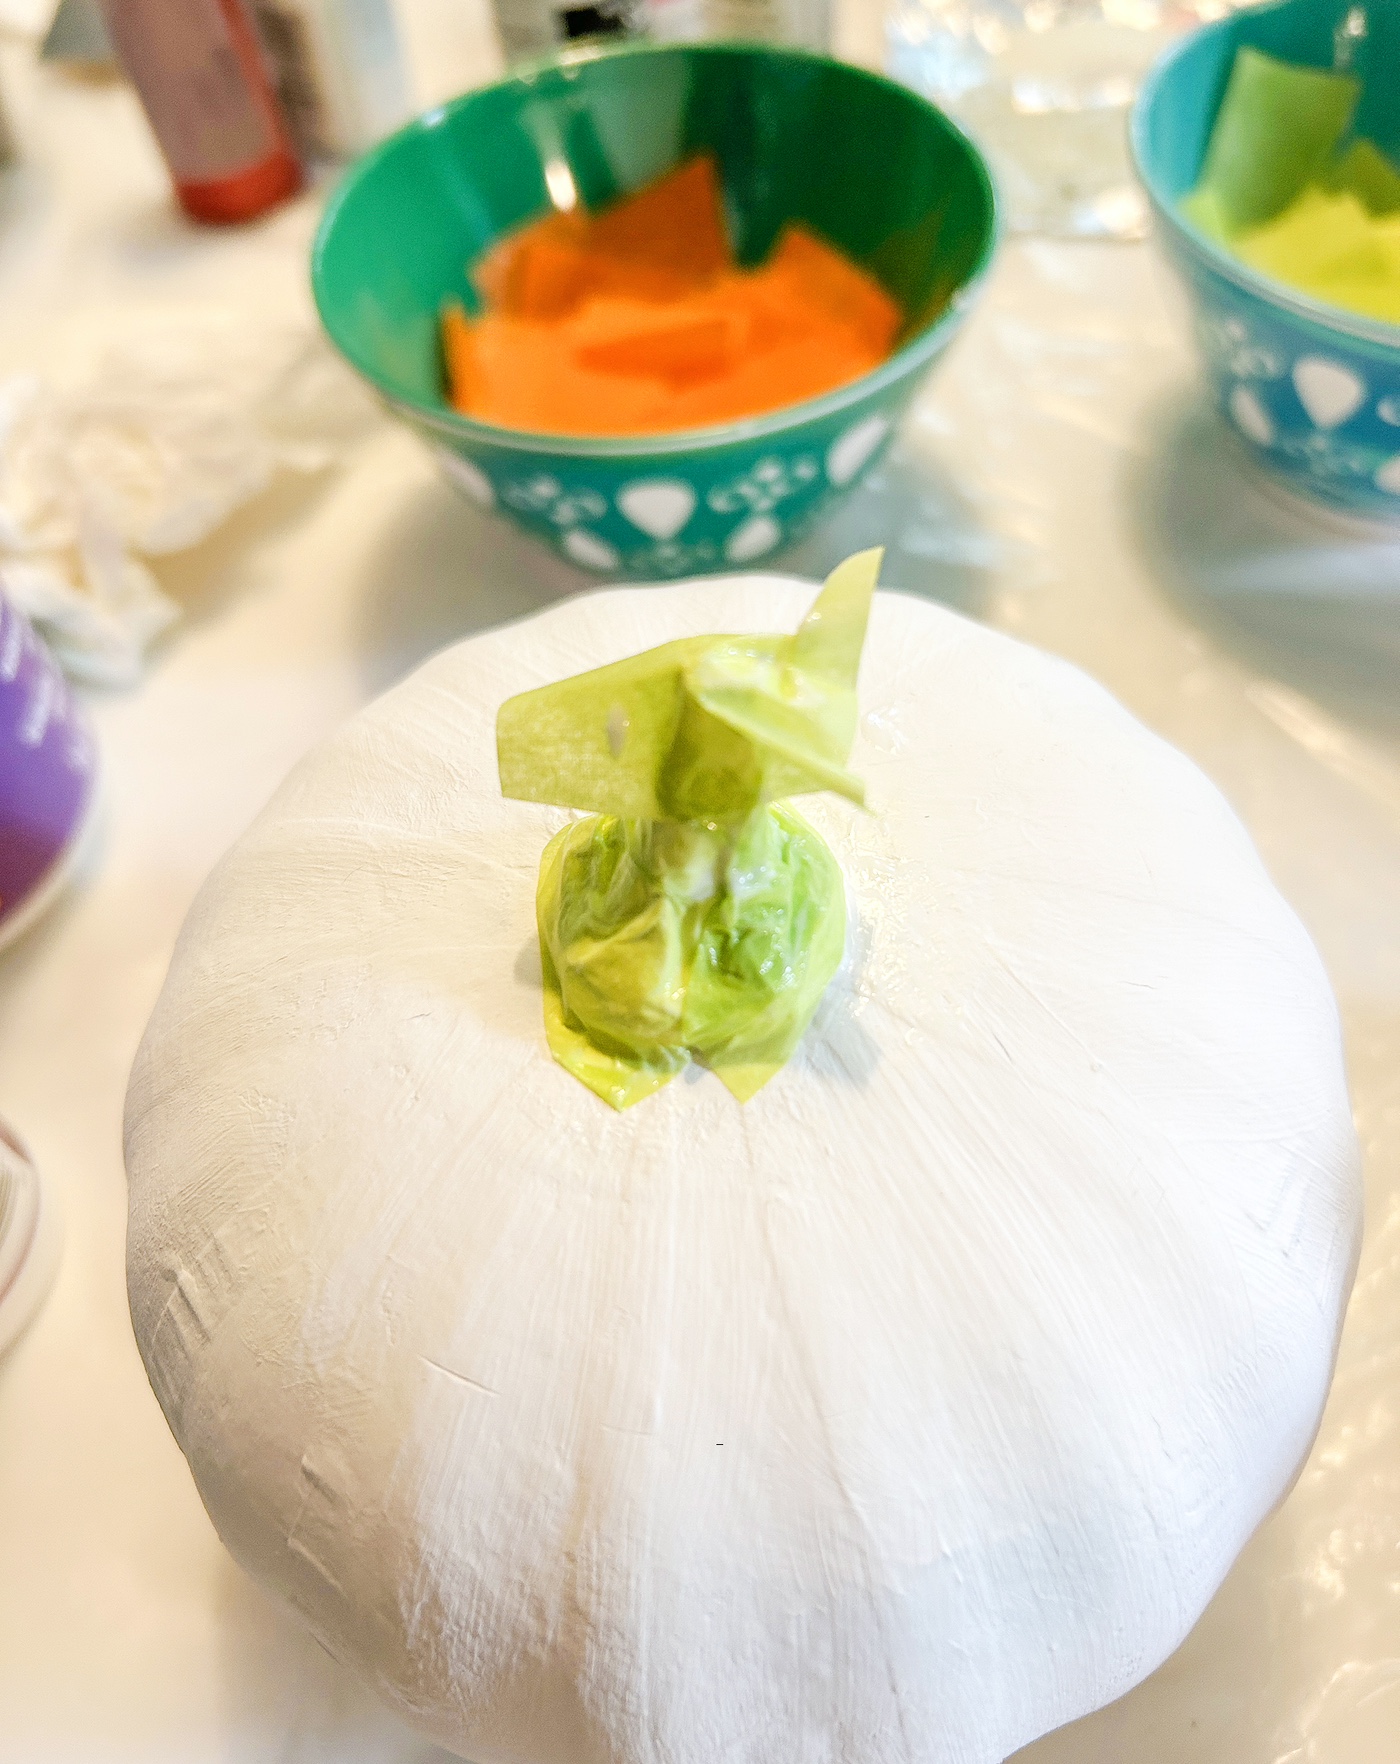
- Continue adding green squares around the stem, smoothing each with the brush, until the entire stem is covered. Let it dry.
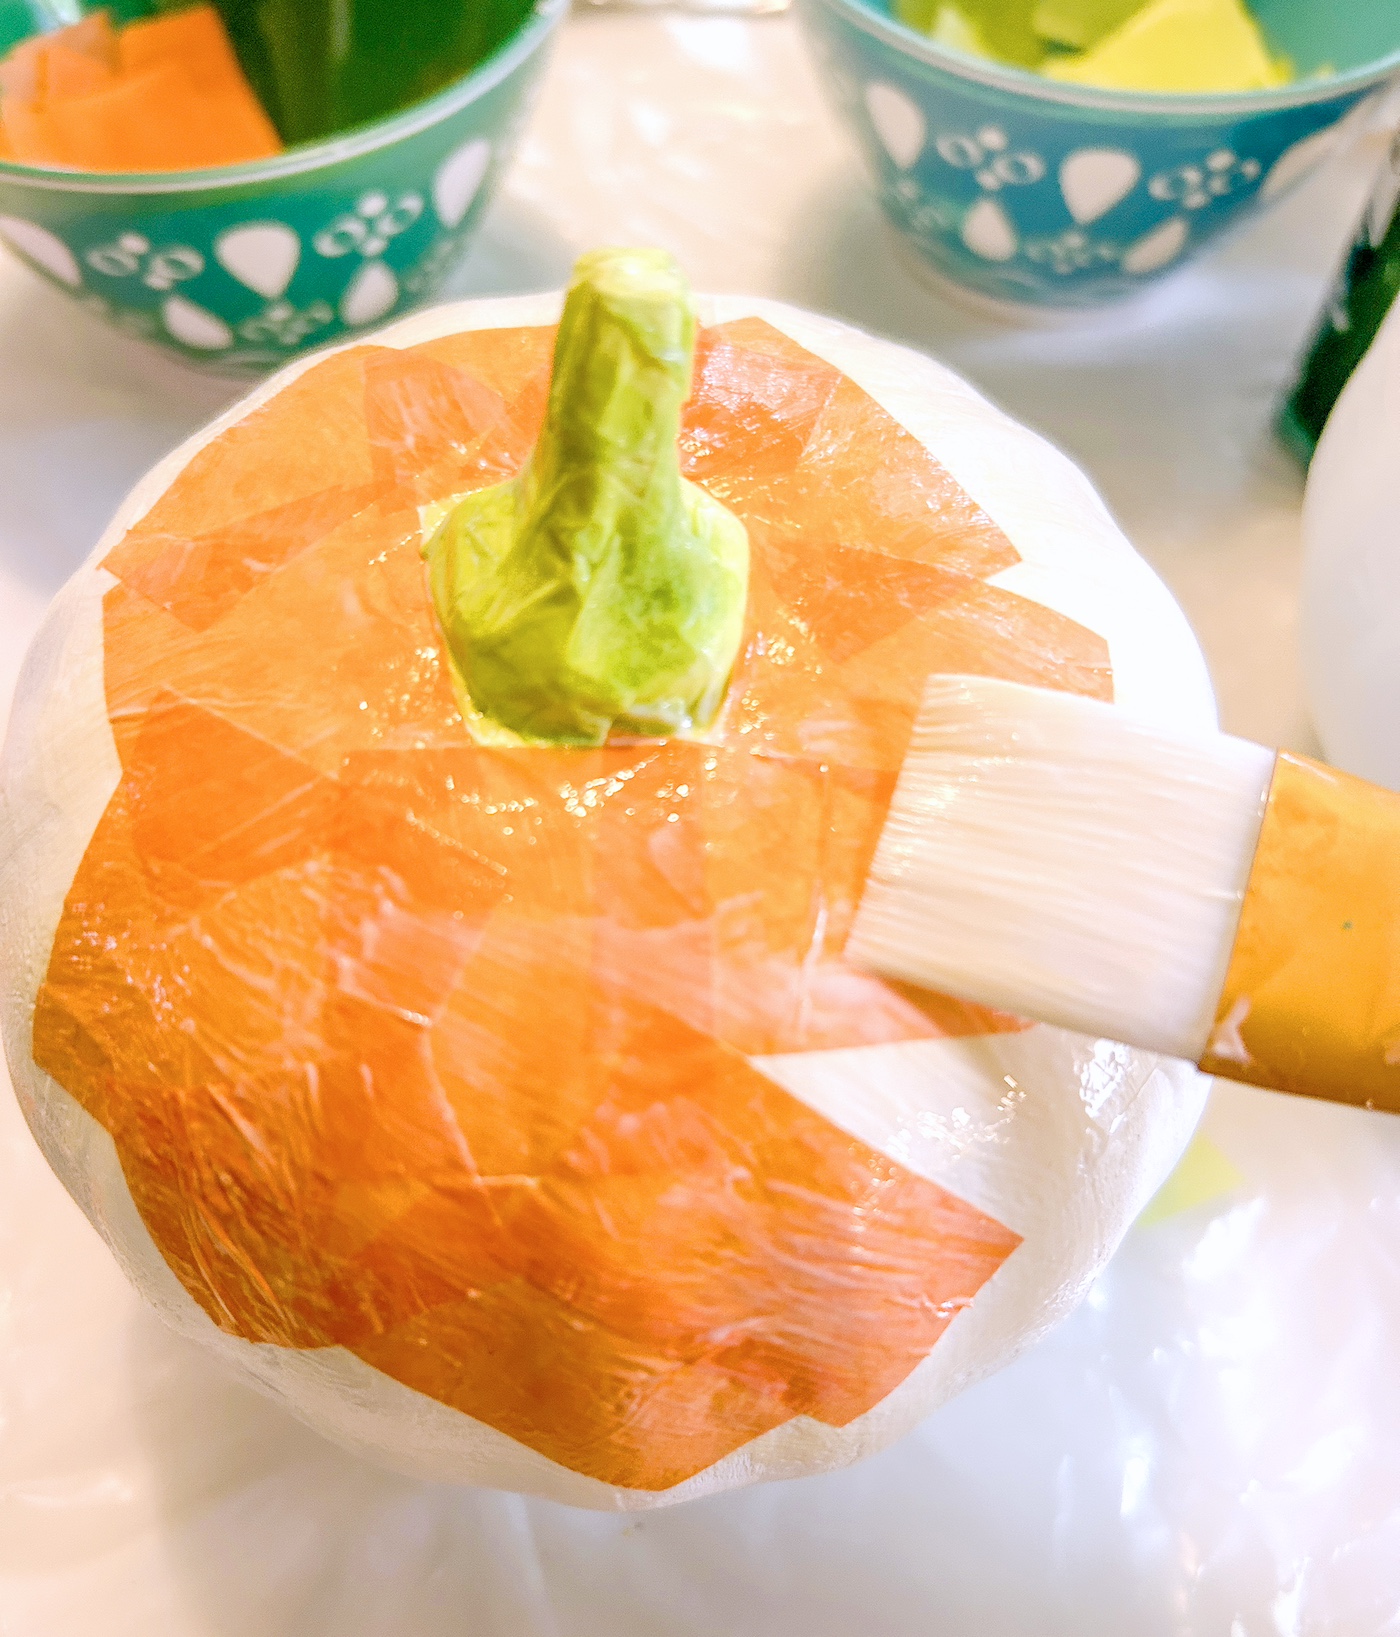
- Work on the pumpkin body by applying Mod Podge to a small area, placing an orange tissue square, and brushing over it to flatten. Repeat section by section until the whole pumpkin is covered, then let dry.
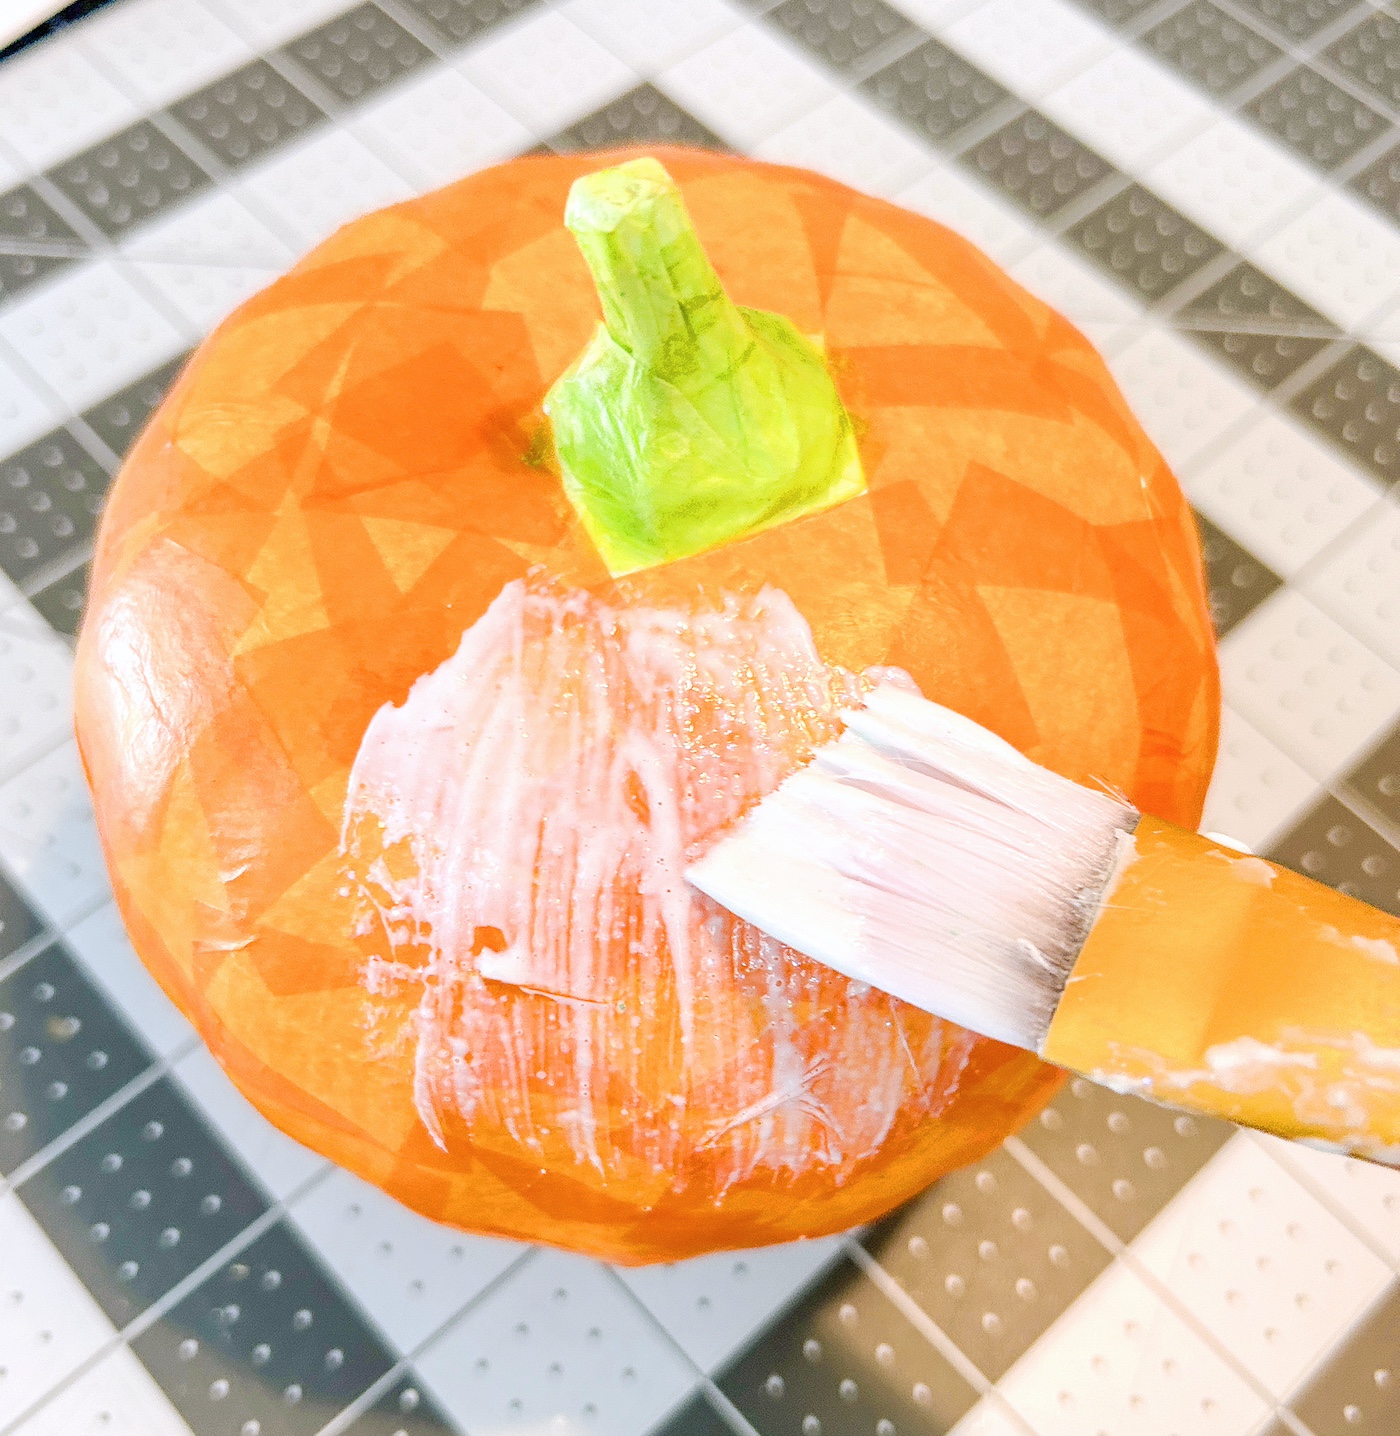
- Once dry, apply a coat of Mod Podge Sparkle all over the pumpkin. Let it dry, then add another coat if you want more glitter.
- To finish, cut a piece of ric rac trim, yarn, or ribbon and tie it around the pumpkin stem.
More photos
Photos hosted by modpodgerocksblog.com.