Upcycled & RecycledNo. 4473 · The 2026 edition
DIY Halloween Silhouette Plates
Turn plain plates into spooky decor with this easy silhouette transfer technique.
Our own summary of the original — the full post and photos live at boxwoodavenue.com.
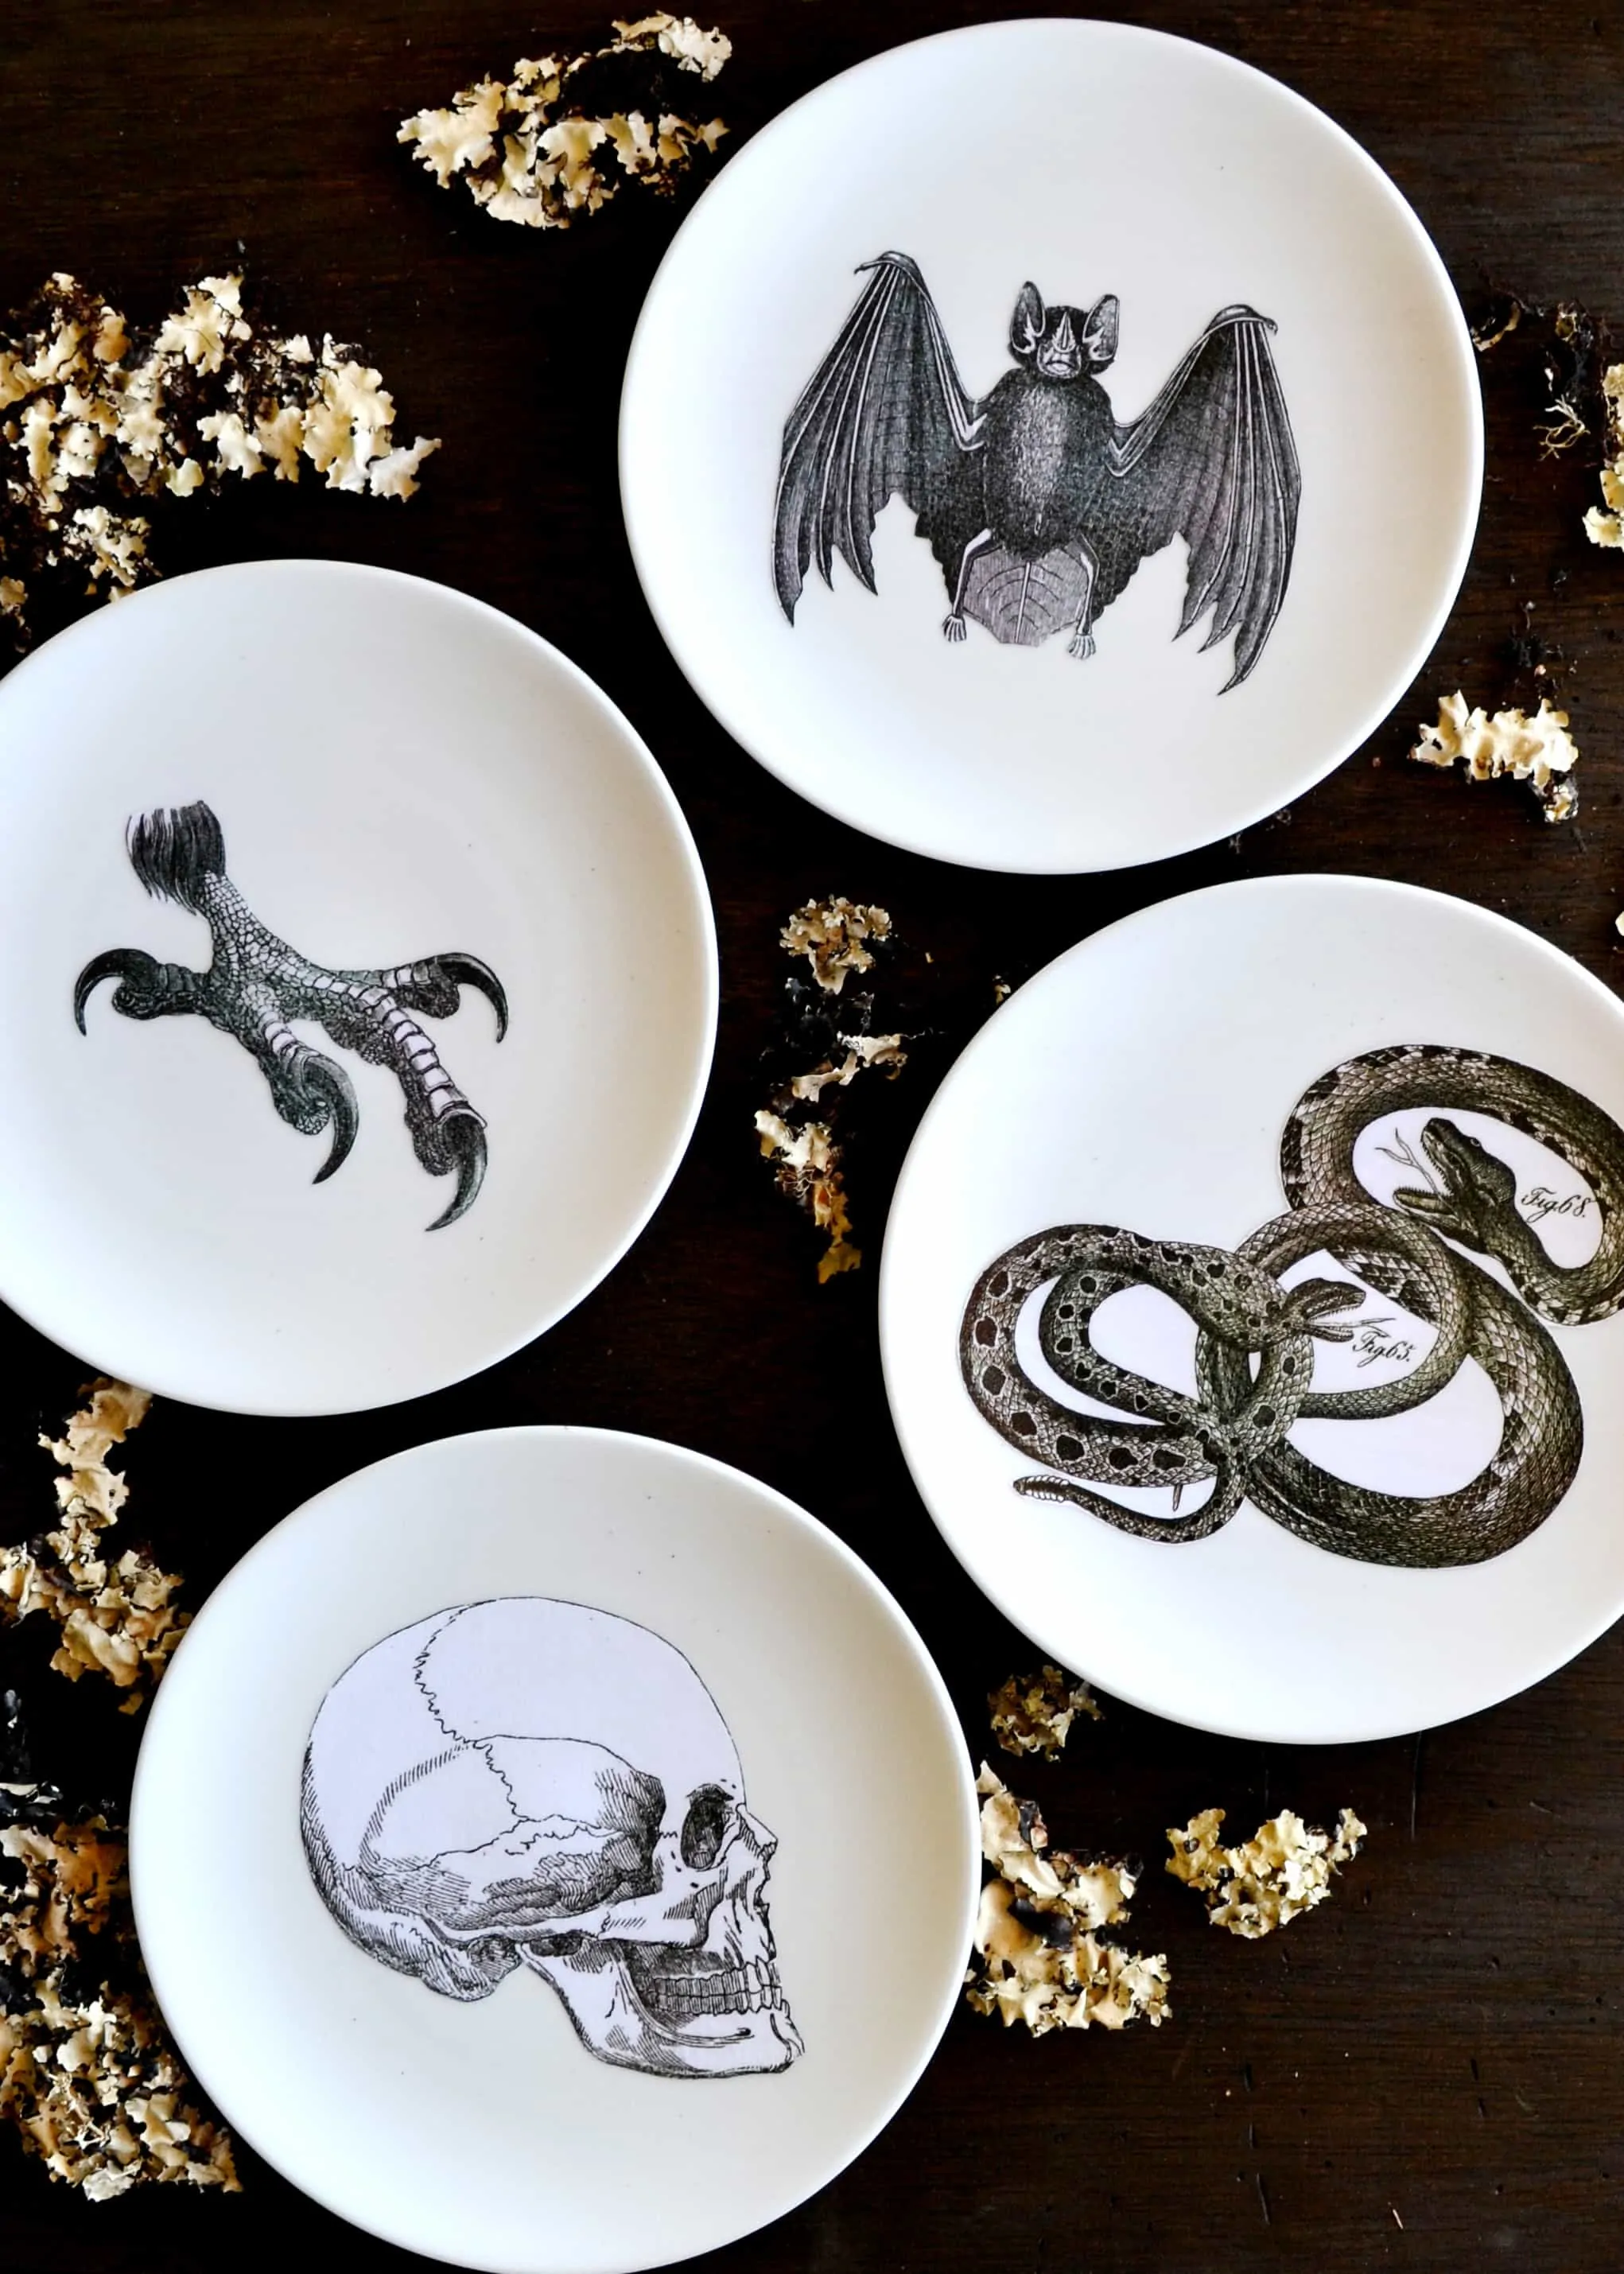
These DIY Halloween silhouette plates are a cinch to make. You'll print your design, seal it, cut it out, and use Mod Podge to adhere it to a ceramic plate. A few layers of topcoat ensure your creation lasts through the season.
You'll need
Directions
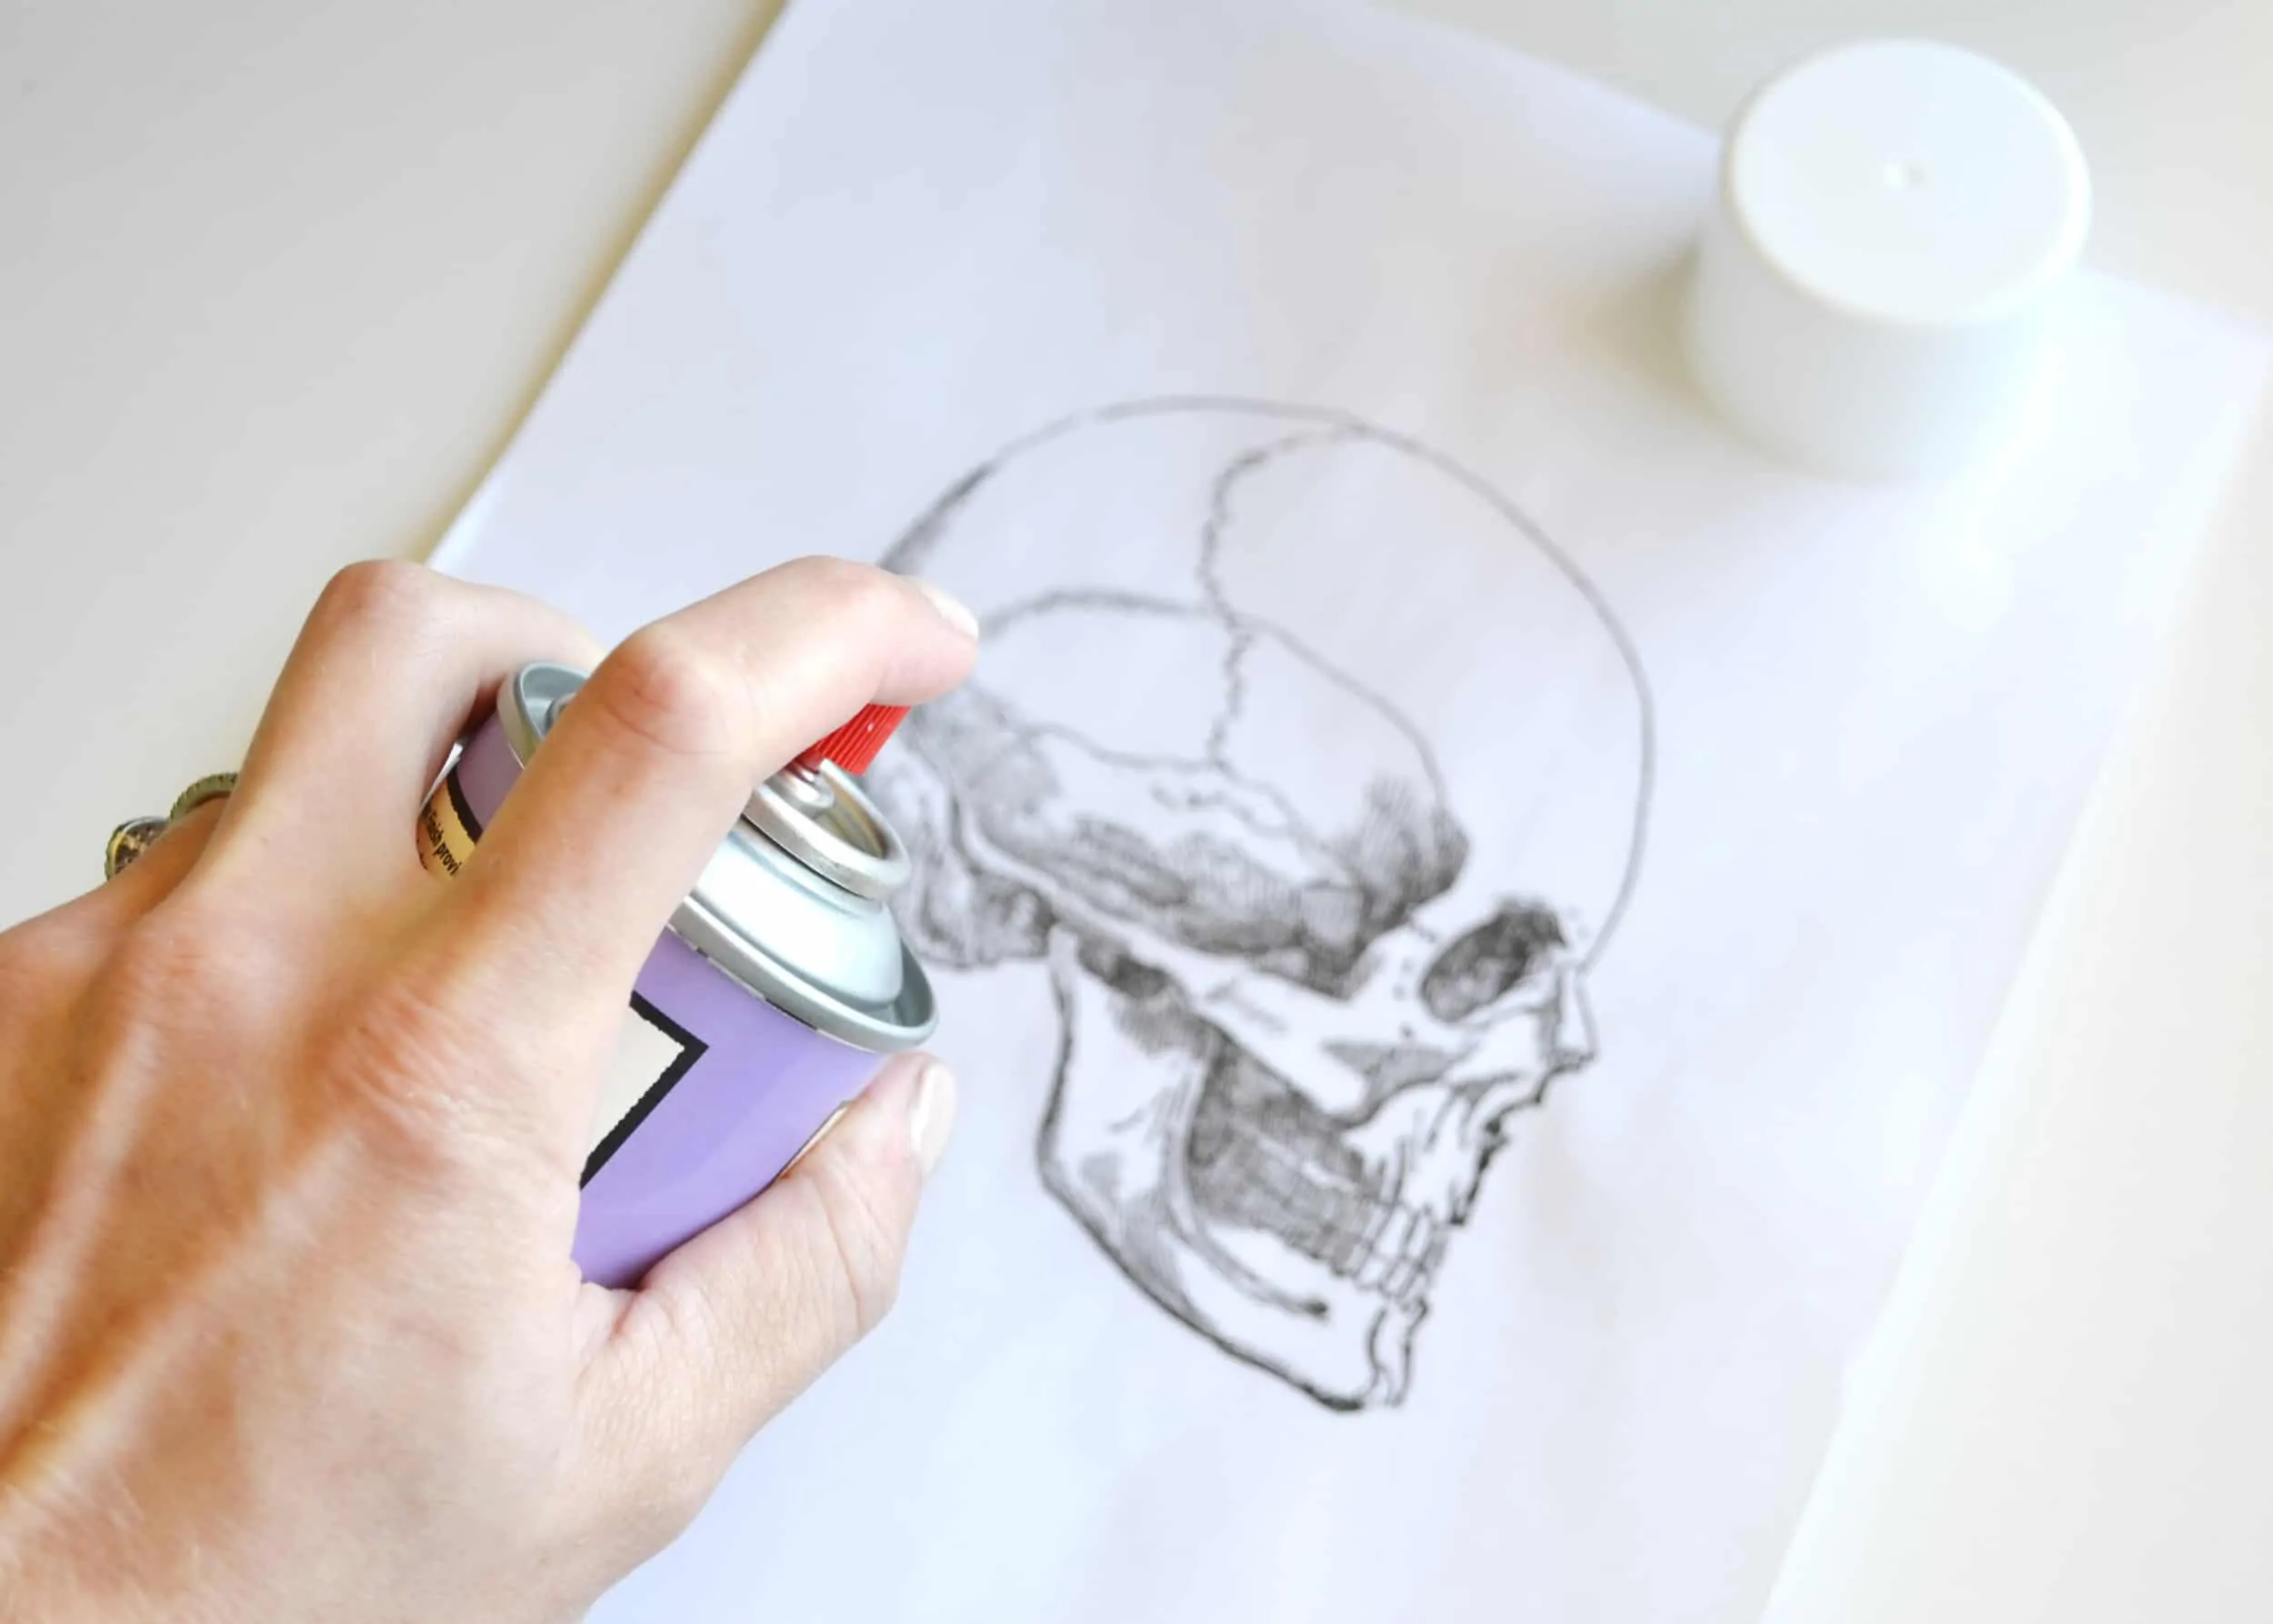
- Print your chosen artwork, then give it a light spritz of sealant spray. Let it dry fully, then repeat this sealing process two or three times.
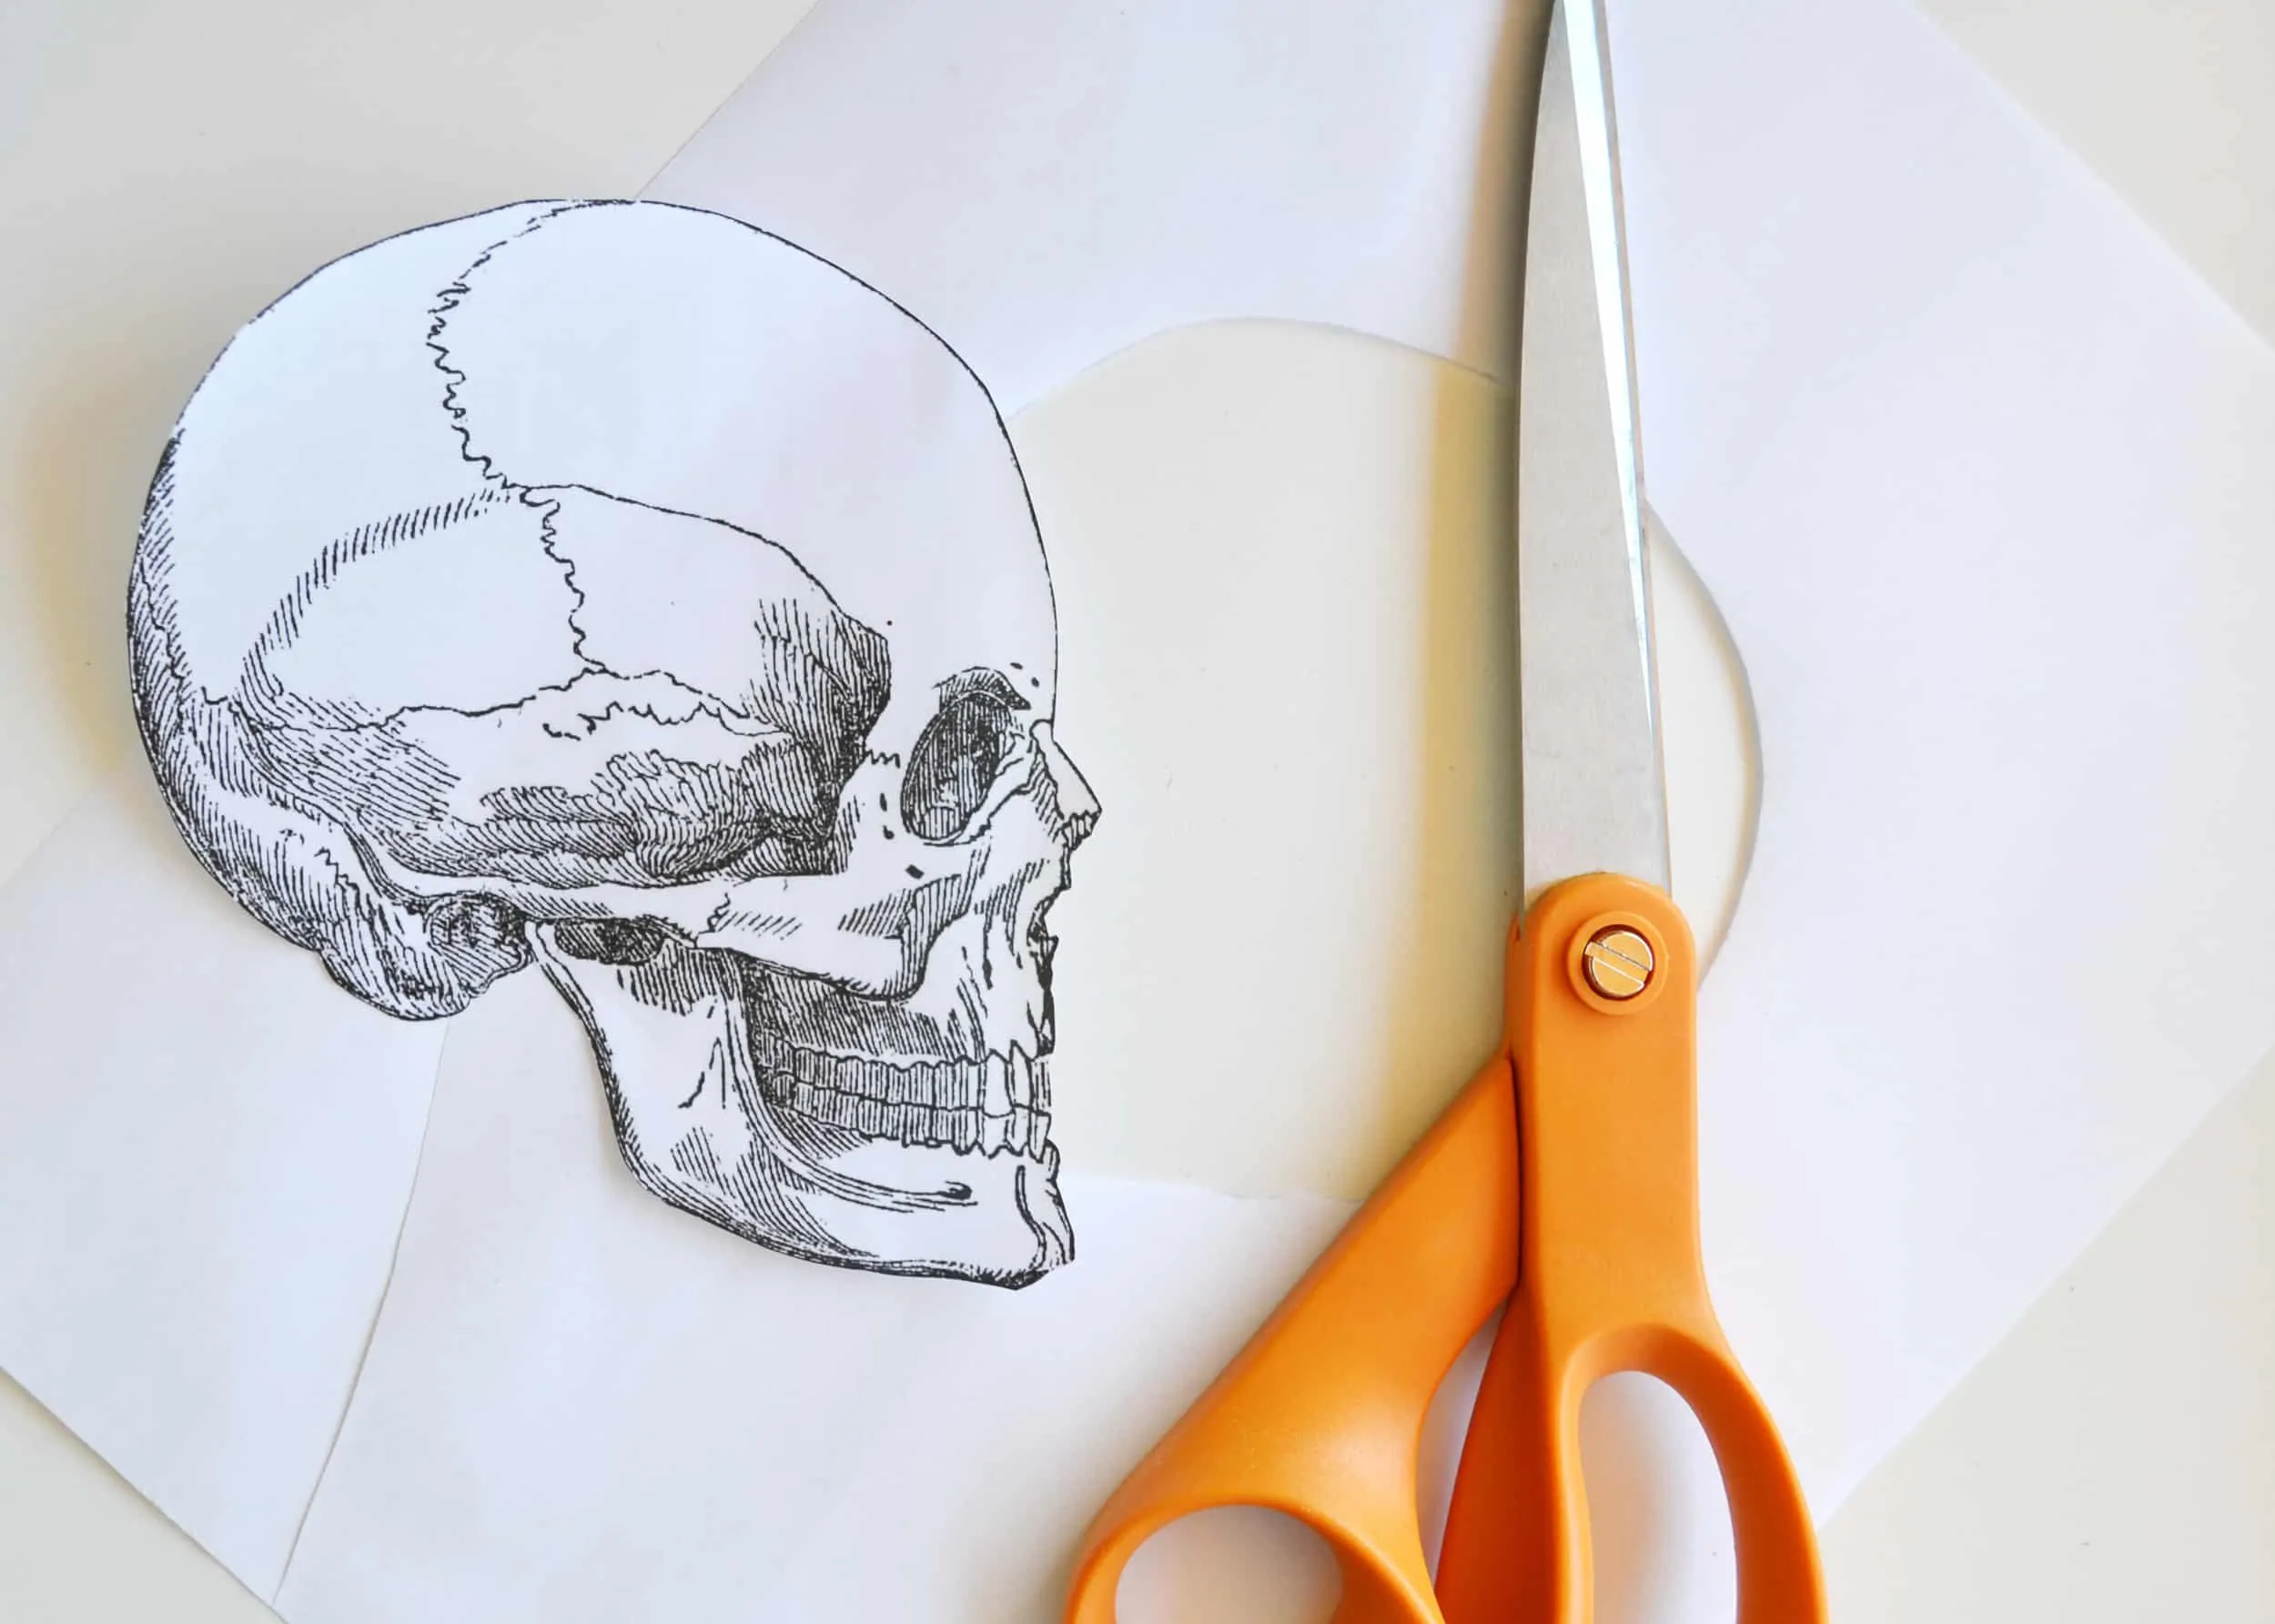
- Carefully snip out the silhouette shape, cutting away as much of the white background as you can.
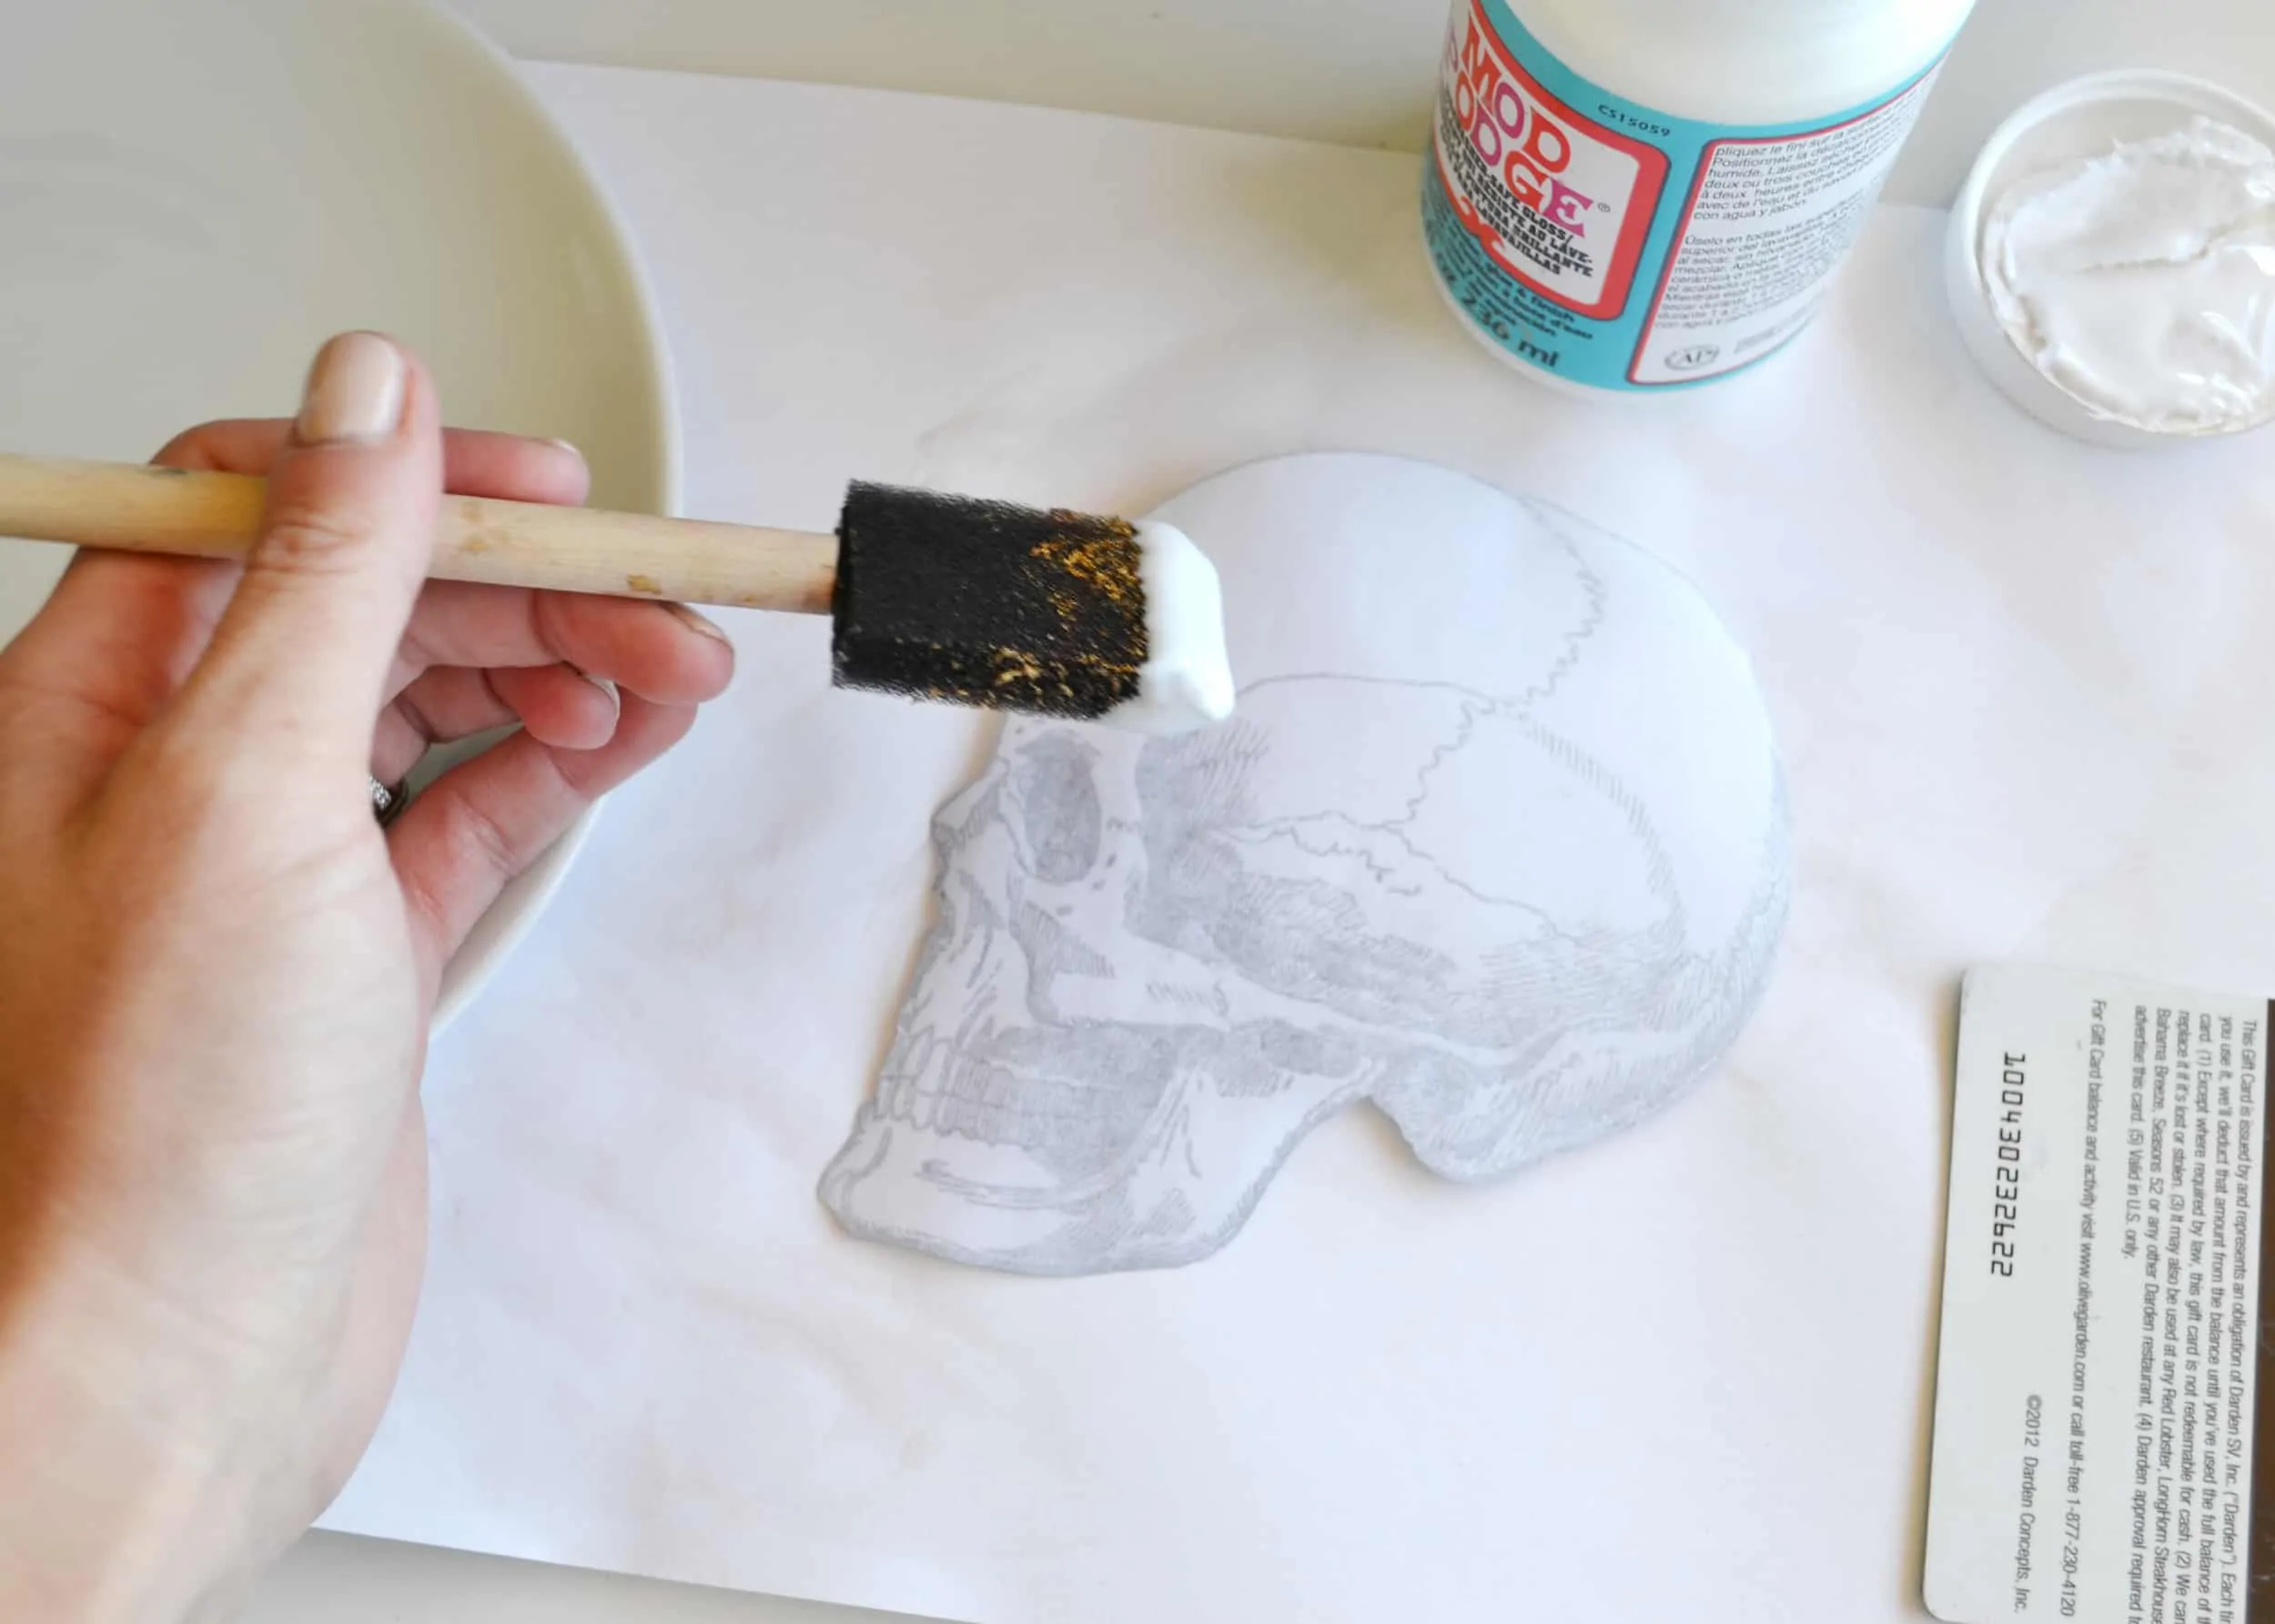
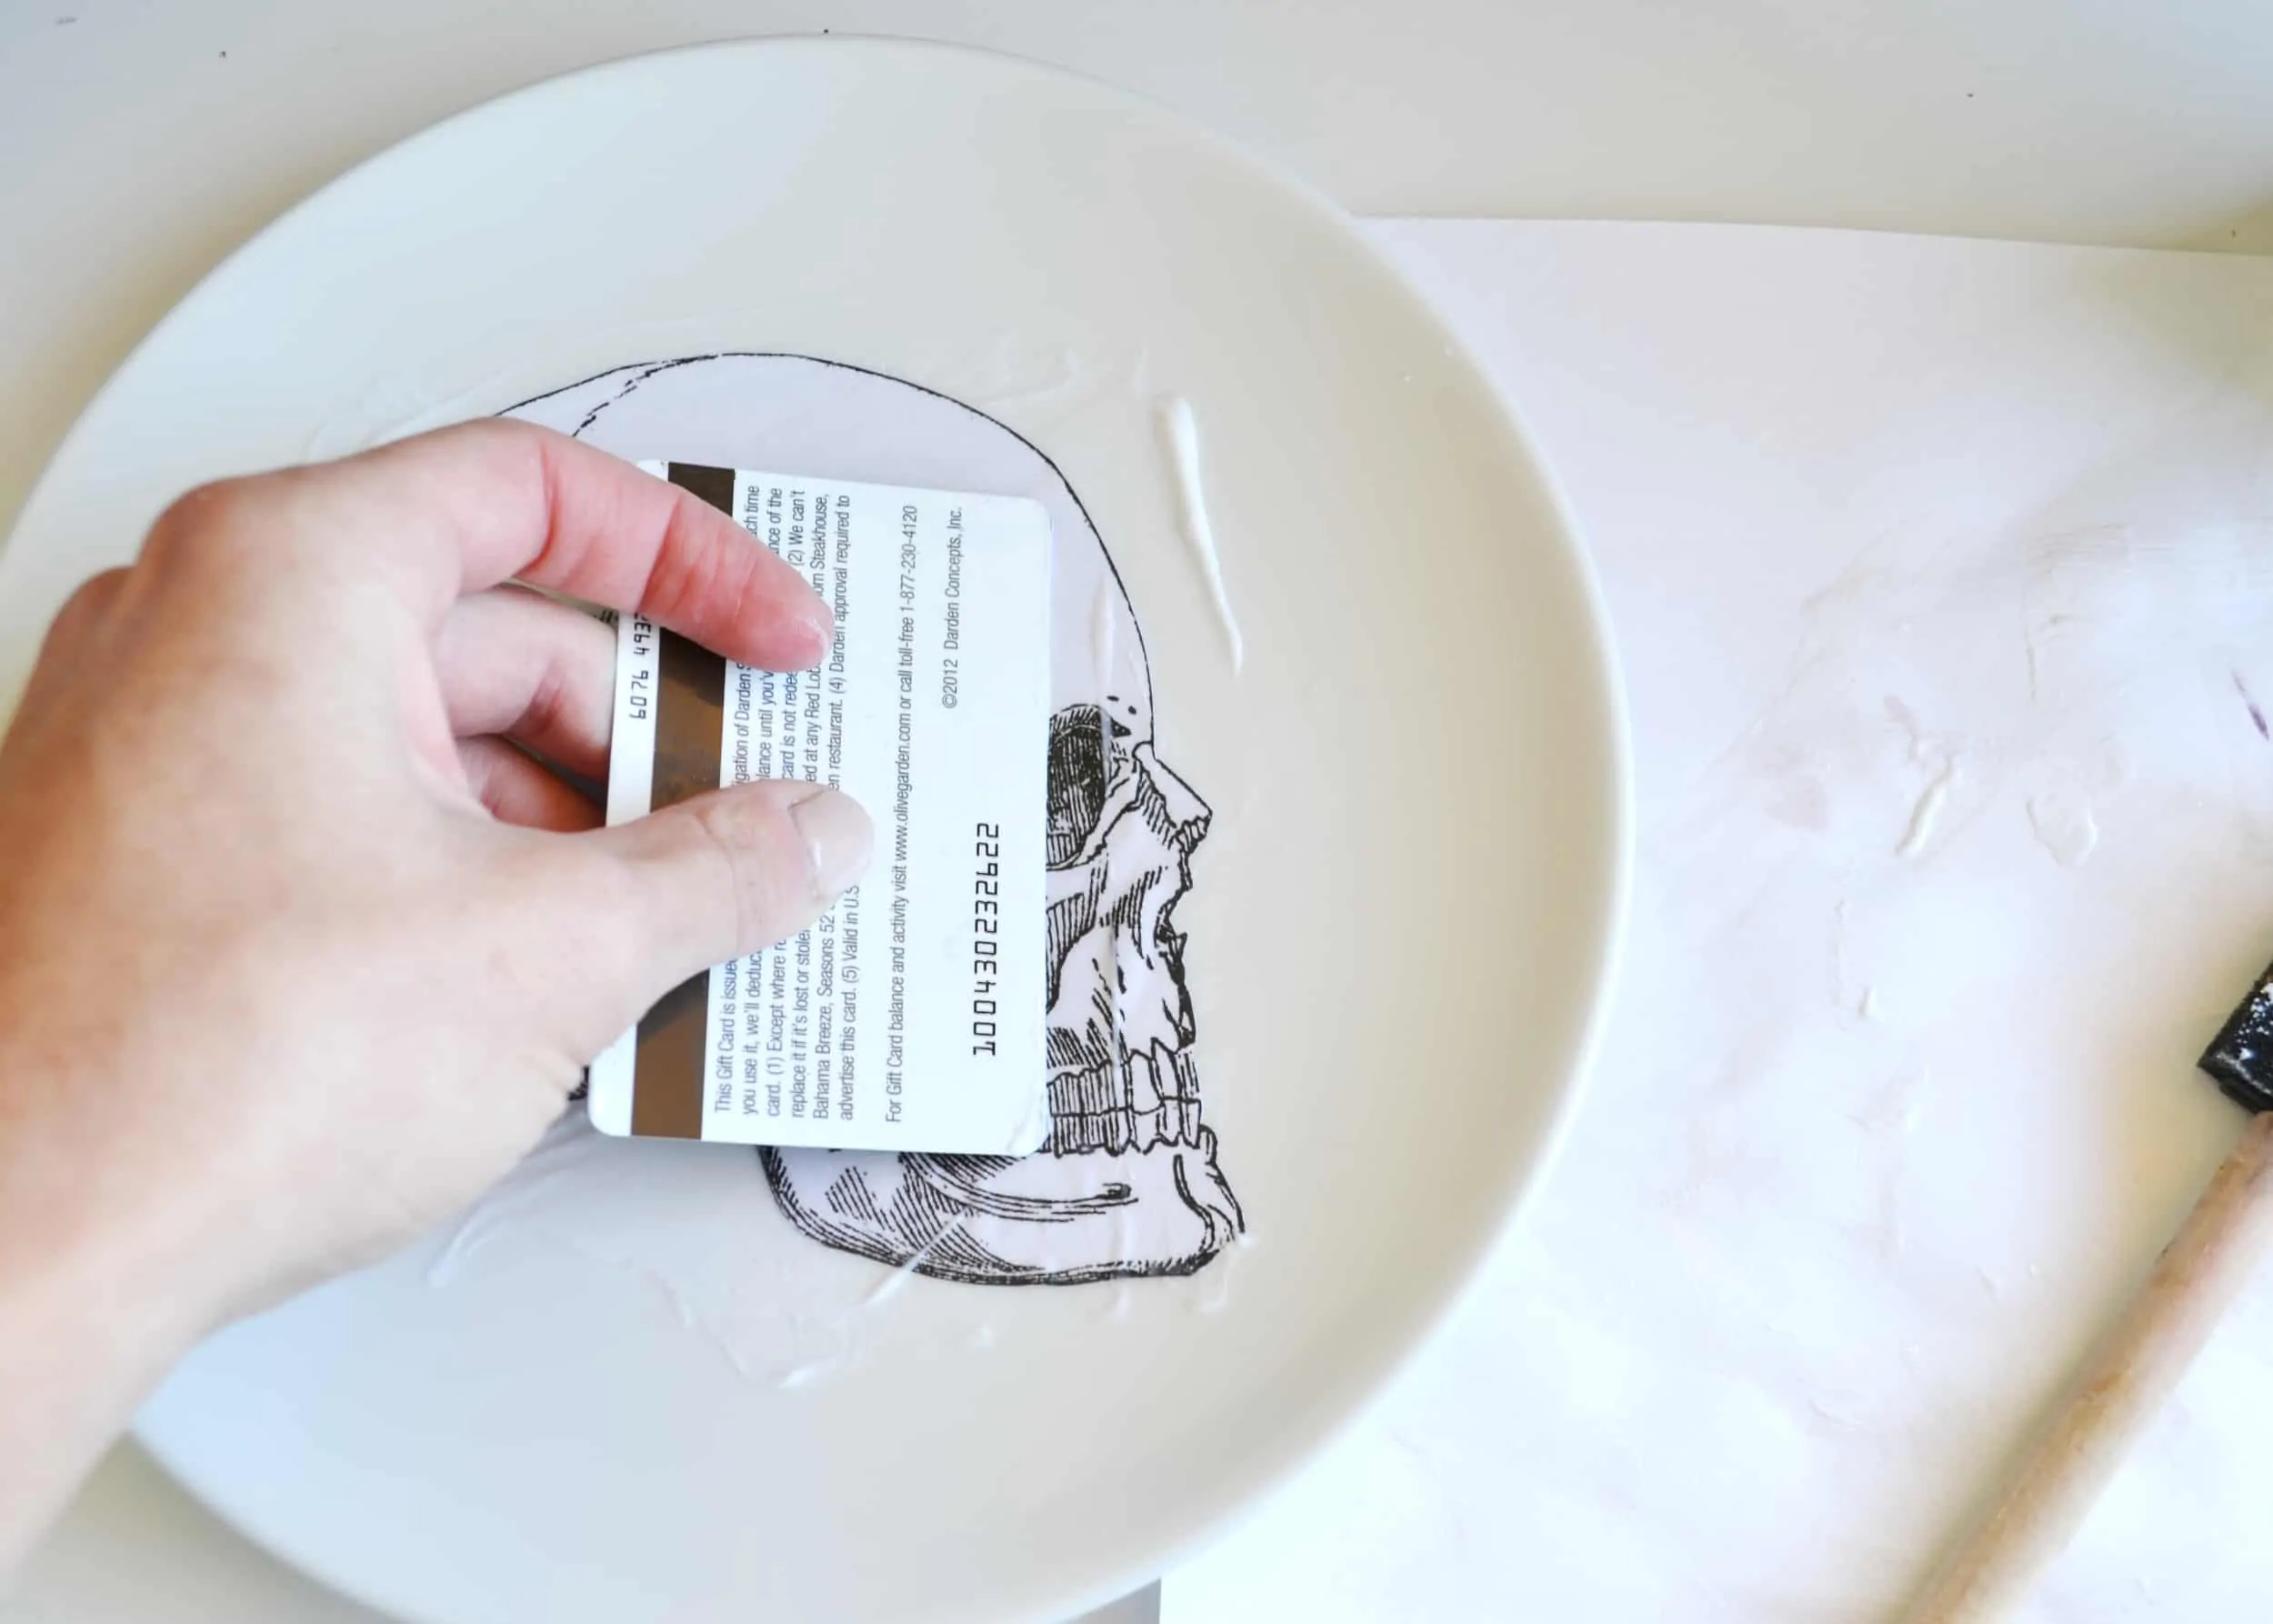
- Spread a thick layer of Mod Podge onto the back of the cut-out. While it's still tacky, press it onto your plate or platter. Use the edge of an old credit card to push out any air bubbles—this step is a must! Make sure every edge of the paper is stuck down firmly.
- Brush a final coat of Mod Podge over the entire plate surface. Let it dry, then repeat two or three more times for a durable finish.
More photos
Photos hosted by boxwoodavenue.com.