Upcycled & RecycledNo. 1626 · The 2026 edition
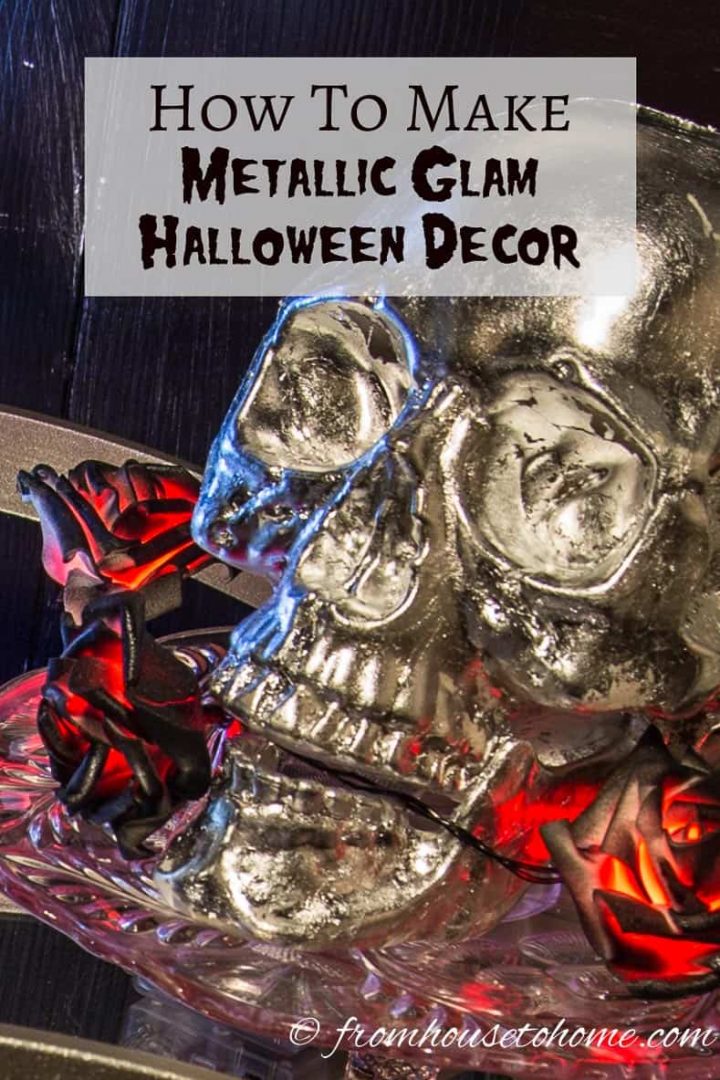
DIY Silver Leaf Skull Halloween Decor
Turn a plain plastic skull into a shimmering silver showpiece with this easy DIY leafing technique.
Our own summary of the original — the full post and photos live at entertainingdiva.com.

Transform a plastic skull into a gleaming Halloween decoration using imitation silver leaf and adhesive size. The process involves applying adhesive, layering the leaf, and buffing off excess for a flawless metallic finish.
You'll need
Directions
- Ensure the skull is clean. Using a small brush, spread a very thin layer of metal leaf adhesive size over the lower half of the skull, avoiding the flat base where it rests. Let it sit for several minutes until the adhesive becomes tacky.
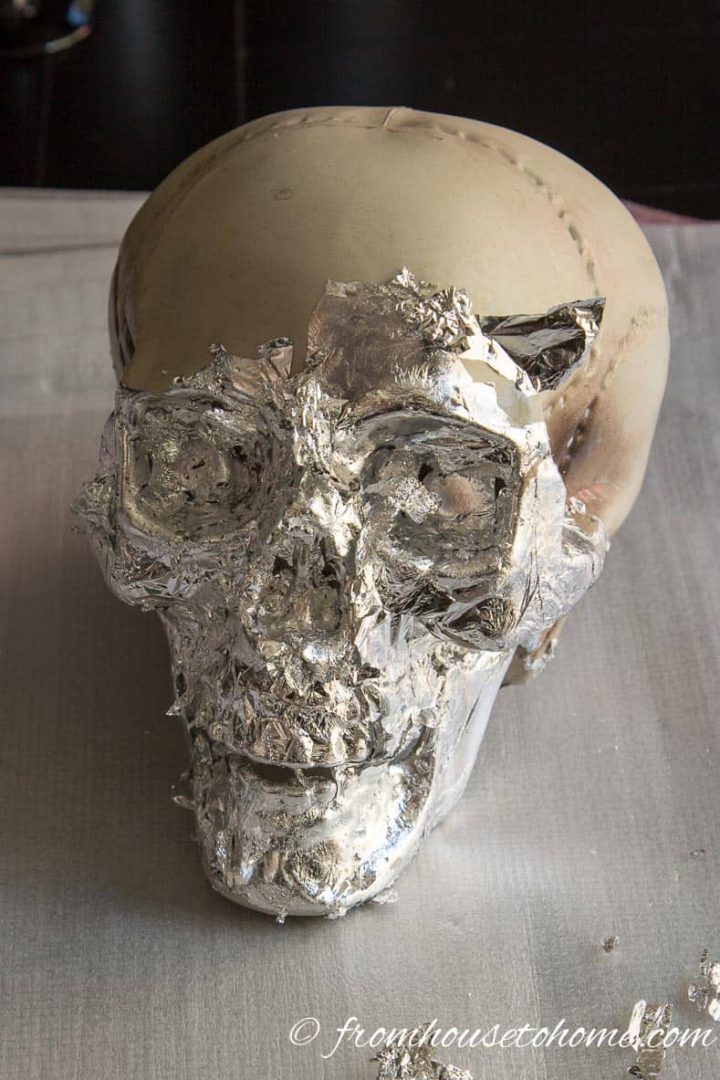
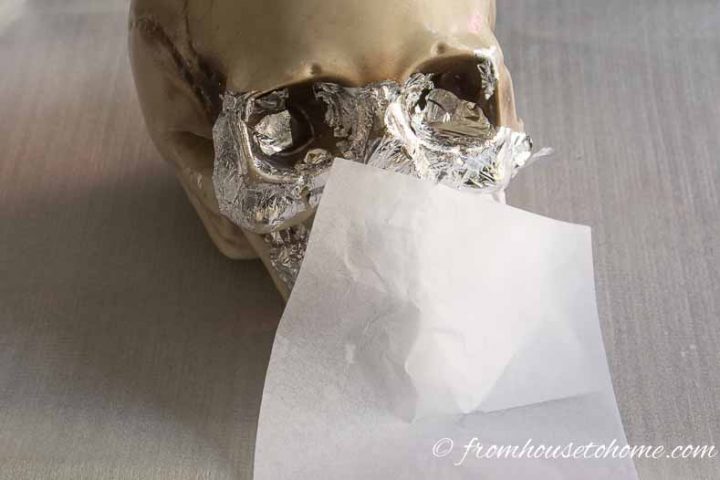
- Take a sheet of imitation silver leaf along with its backing paper. Place the leaf onto the sticky area, then press it down using the paper to avoid direct contact with your fingers. Continue adding sheets, overlapping slightly to hide seams, until the entire bottom half is covered.
- Repeat the adhesive application on the top half of the skull and apply silver leaf in the same manner, covering the entire surface. A few missed spots are fine for a skull look; if you want full coverage, add more adhesive and another layer of leaf.
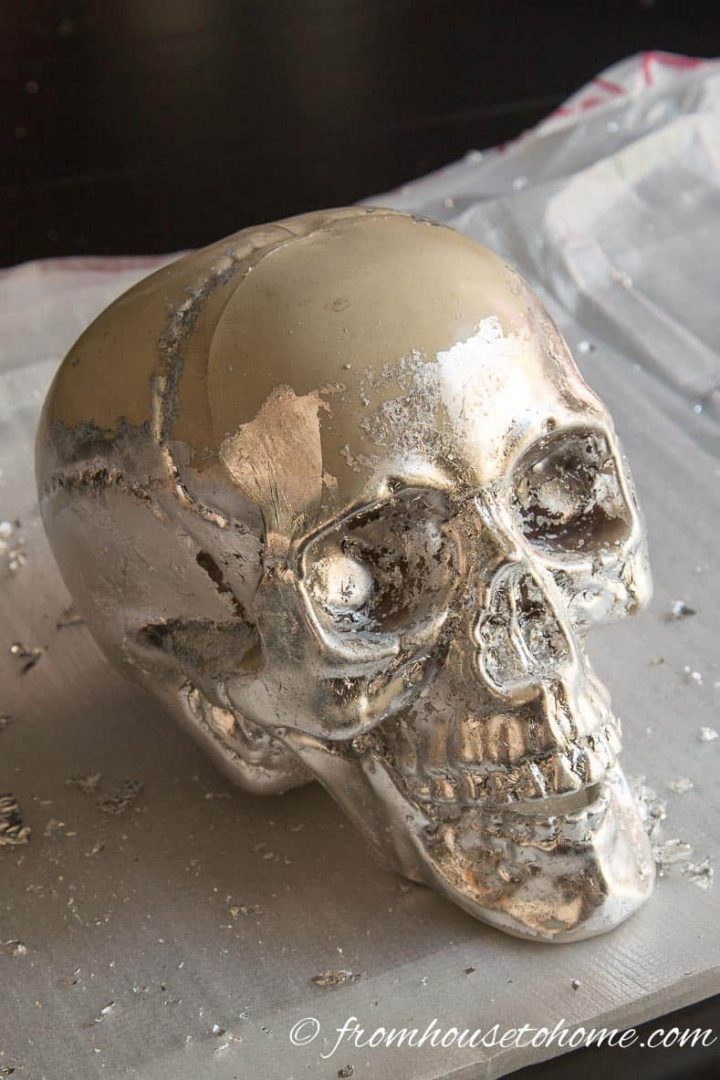
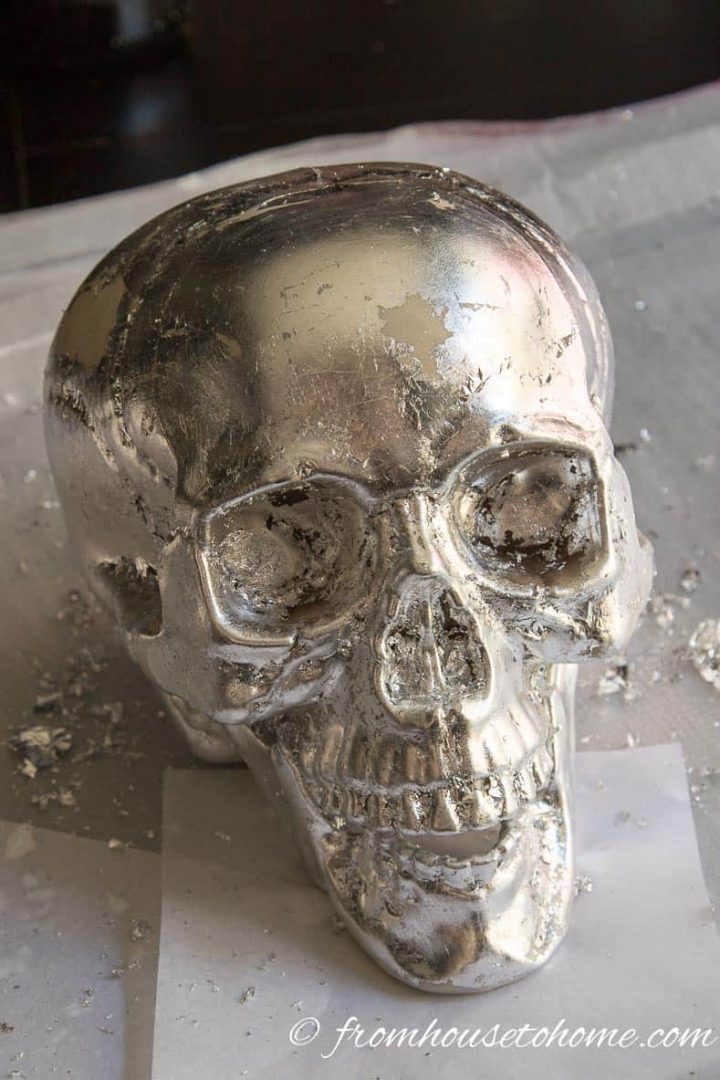
- Gently buff the skull with a soft cloth to remove loose leaf bits. Use a small artist's brush to clear excess from grooves. If some leaf rubs off (like with a thumbprint), simply patch with a new piece of silver leaf—if it doesn't stick, apply a bit more adhesive.
More photos

Photos hosted by entertainingdiva.com.