Upcycled & RecycledNo. 9519 · The 2026 edition
Easy DIY Halloween Decorations: Recycled Potion Bottles!
Turn empty bottles into spooky potion bottles with simple paint, labels, and eerie embellishments!
Our own summary of the original — the full post and photos live at ehow.com.
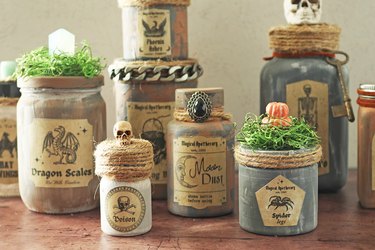
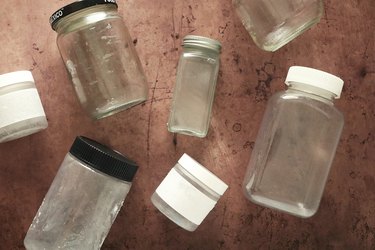
Transform recycled plastic, metal, or glass containers into charming Halloween decor. Clean off labels, paint with matte colors, add printable potion labels, and decorate with twine, moss, or creepy miniatures. These easy DIY potion bottles are perfect for a festive display.
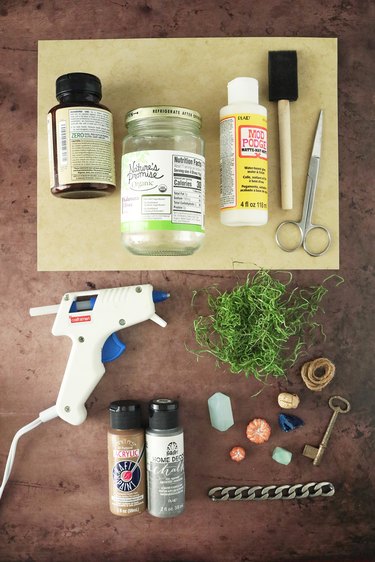
You'll need
Directions
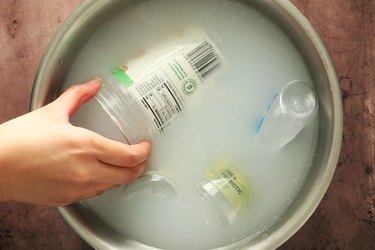
- Fill a large bowl with hot water and add a few drops of soap (Castile soap works well). Submerge your empty bottles or jars and let them soak for at least an hour to help loosen the labels.
- After soaking, peel off as much of the labels as you can. Some may come off easier than others depending on the adhesive. It's fine if some residue remains, as it can add texture. Dry the containers thoroughly with a cloth or paper towel.
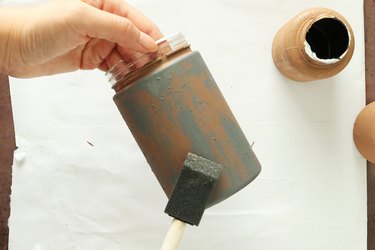
- Using a foam brush, apply a coat of chalk or matte paint to the bottles and jars. Choose any color that fits your decor, but stick with matte paint for better adhesion on smooth surfaces. Once the first layer dries, age the containers by dipping a dry foam brush into a contrasting matte paint and swiping it randomly over the surface to create depth and texture.
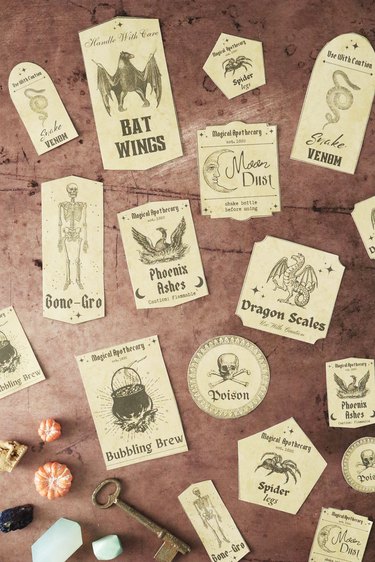
- Print our potion bottle labels on parchment-colored paper (8.5x11 inches). You can download the free printable online. At 100% scale, the labels suit large pill bottles and peanut butter jars. For smaller containers, reduce the scale and test print on scrap paper to find the perfect size.
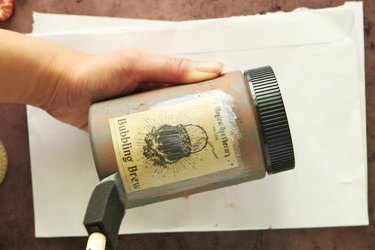
- With a foam brush, apply a thin layer of Mod Podge to the front of a bottle. Press a label onto it and smooth it down with your fingers. Then brush another layer of Mod Podge over the label, ensuring all edges are sealed. Set aside to dry.
- Now for the fun part: bring your potion bottles to life. Use hot glue to attach a strand of twine, jute, or leather cord to the lid, wrapping until covered and securing with occasional glue dabs. Then let your creativity run wild—hot glue on embellishments like faux moss, creepy dollhouse miniatures, chunky stone beads, charms, chains, or plastic skulls.
More photos
Photos hosted by ehow.com.