Lanterns & LuminariesNo. 4209 · The 2026 edition
How to Make a Halloween Night-Light From a Plastic Bottle
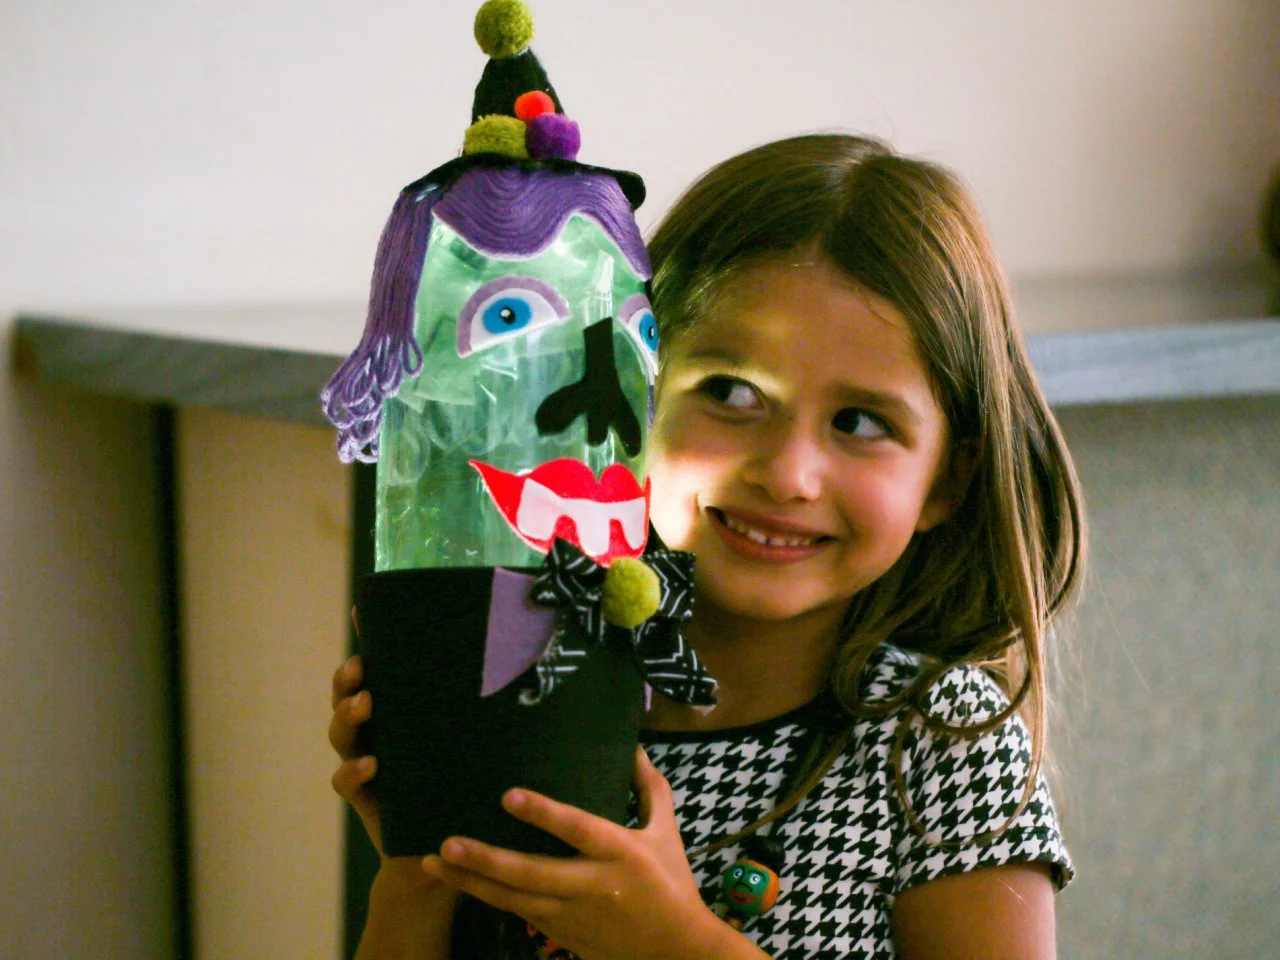
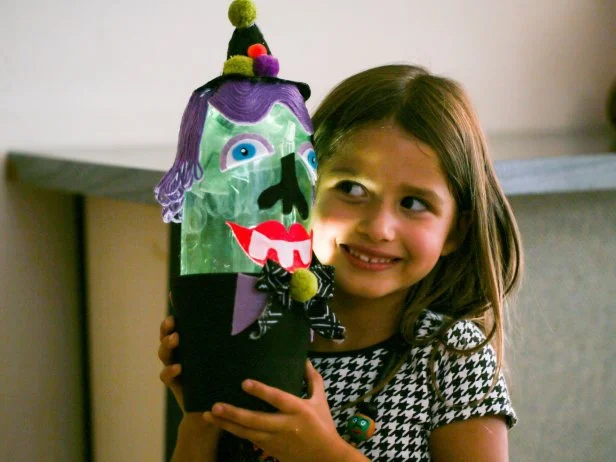
Transform an ordinary green bottle into a spooky yet adorable witch night-light with this simple DIY project!
Our own summary of the original — the full post and photos live at hgtv.com.
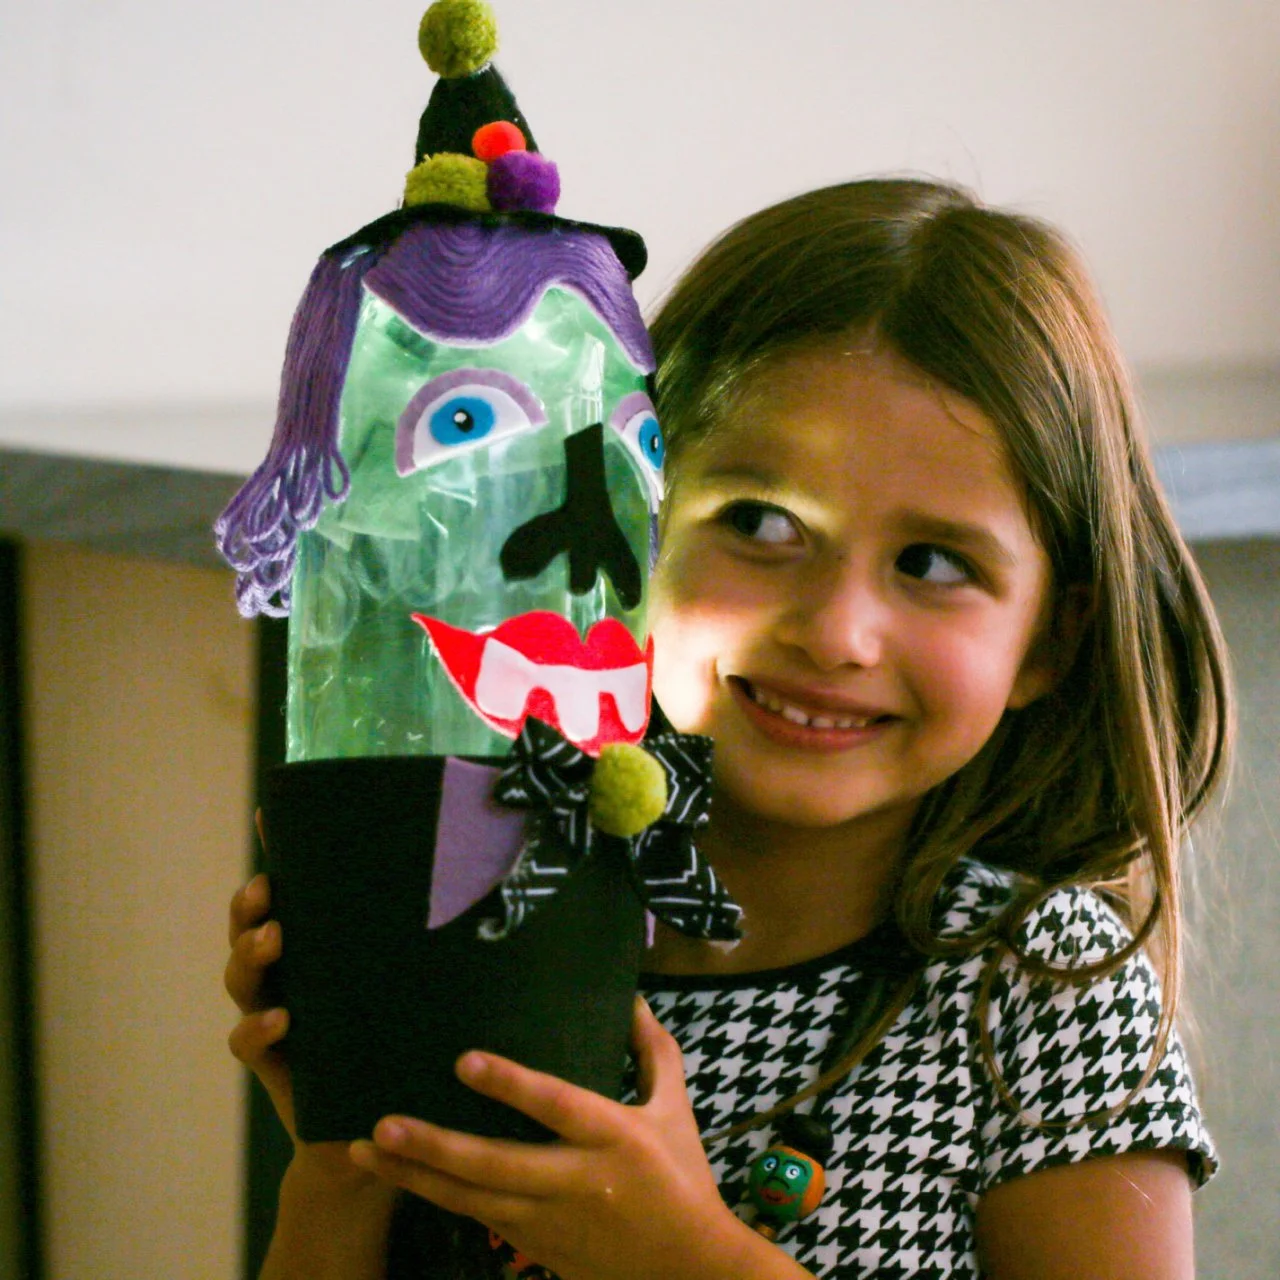
This guide walks you through crafting a glowing witch night-light using a green 2-liter bottle, felt, yarn, and a terra-cotta pot. By cutting, gluing, and painting these materials, you will create a festive decoration that lights up with the tap of a button.
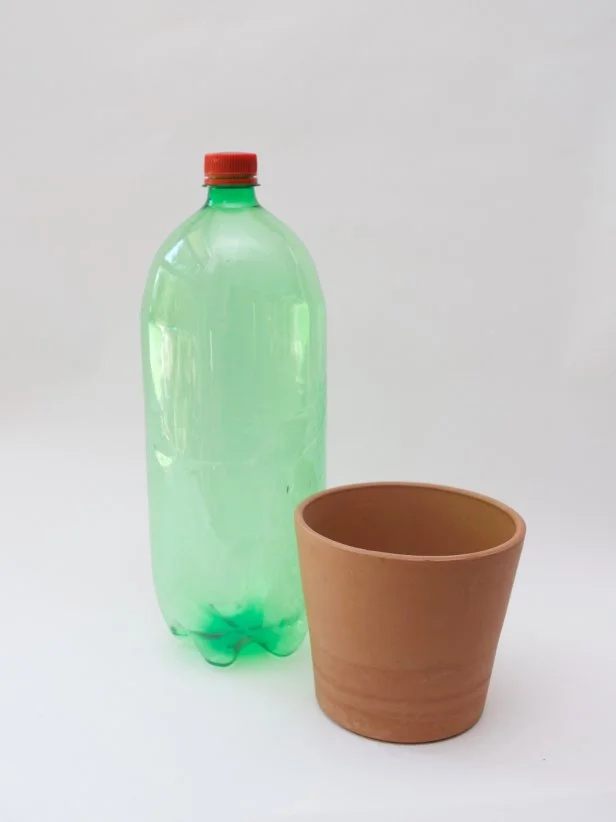
You'll need
Directions
- Start by peeling off any sticker or label from the green 2-liter bottle and throwing it away.
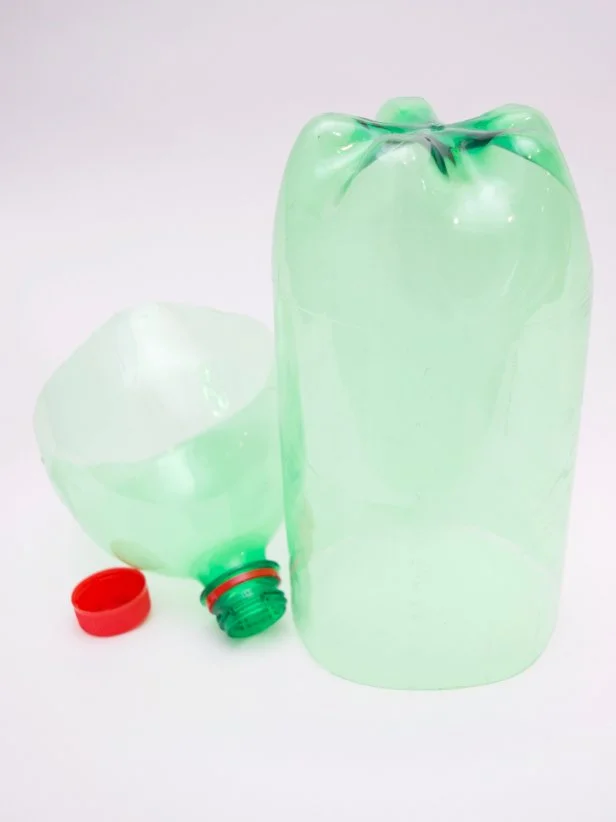
- Take your scissors and carefully slice off the upper portion of the container. Since this can be difficult, have a grown-up assist you with this cutting step.
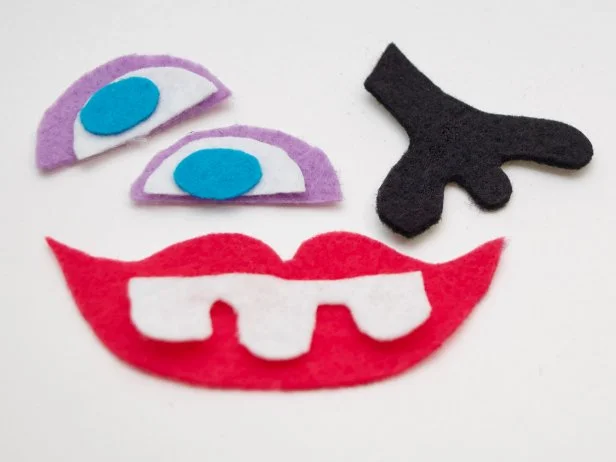
- Cut out eyes, a nose, and a mouth from the craft felt using your scissors.
- Apply craft glue to the back of each felt piece and press them onto the bottle near the uncut rim to form a face.
- Glue strands of yarn to the top edge of the bottle to create hair, then let the adhesive set fully. Once dry, glue the witch hat onto the yarn and decorate it with pom-poms or other sparkly bits.
- Select a terra-cotta flowerpot that is just a bit wider than the bottle's width. Paint the entire pot black on both the interior and exterior surfaces, then wait for it to dry completely.
- Use ribbon and additional felt pieces to decorate the painted pot, turning it into a festive witch's dress.
- Place the battery-operated tap puck light inside the finished pot. To turn it on, simply tap the light, and watch the bottle illuminate with a green glow.
More photos

Photos hosted by hgtv.com.