Drilled & LitNo. 9082 · The 2026 edition
DIY Glow In The Dark Pumpkins
Transform ordinary plastic pumpkins into luminous Halloween decor with Tulip Glow in the Dark Paint. This project lets you customize your spooky display with dripping neon lines, colorful patterns, or
Our own summary of the original — the full post and photos live at ilovetocreateblog.blogspot.com.

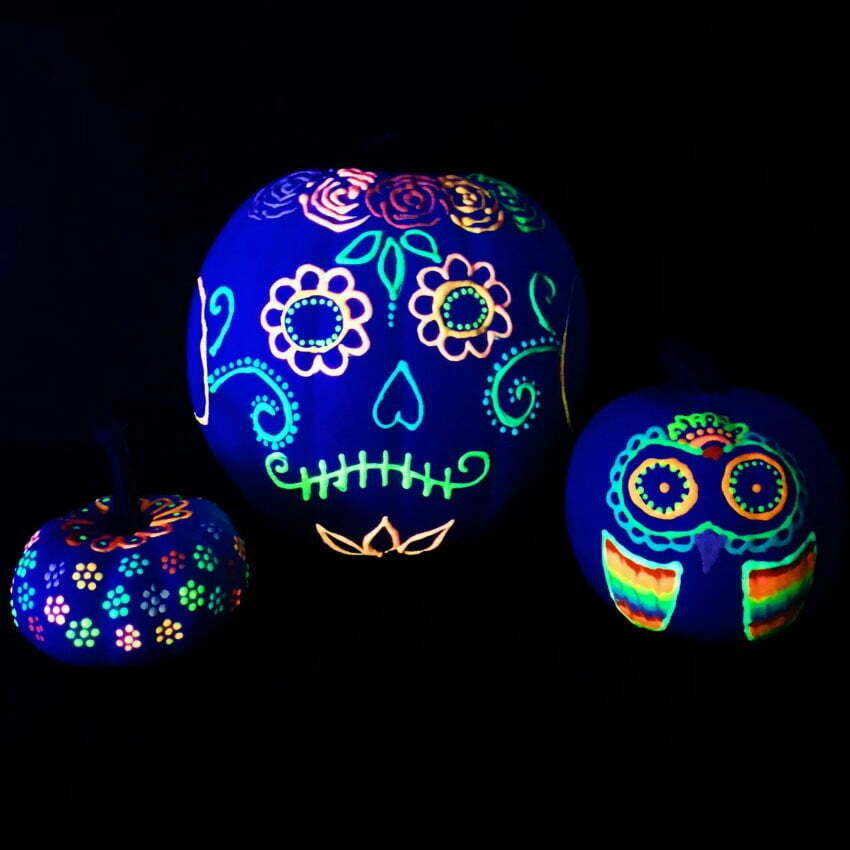
This project guides you through decorating plastic pumpkins using Tulip Glow in the Dark Paint. You can create vertical wavy lines, layer multiple colors with intentional white gaps, add dot patterns for candy button designs, or draw overlapping geometric squares. The process also includes painting the stem for an extra decorative touch.
You'll need
Directions
- Begin by applying the neon paint to the upper portion of the plastic pumpkin. Create thin, wavy strokes that travel vertically across the surface. You have the freedom to stop these lines at the pumpkin's midpoint or continue them all the way to the base. For the initial pumpkin, I aimed for a dripping effect by extending the lines downward.
- Introduce a second hue and apply it adjacent to the initial strokes. Continue layering additional colors side-by-side until the entire pumpkin is covered. I prefer to intentionally leave small patches of the original white surface visible to create visual breathing room.
- For the remaining pumpkins, switch to a dotting technique using the paint bottle tip. On one pumpkin, I arranged these dots to resemble a candy button pattern.
- On another pumpkin, I sketched overlapping geometric shapes to achieve a sharp, abstract square design.
- Don't forget to paint the stem as well to give your creation an extra touch of style.
More photos


Photos hosted by ilovetocreateblog.blogspot.com.