Lanterns & LuminariesNo. 5495 · The 2026 edition
DIY Halloween Luminaries
Transform a simple bucket into a festive, glowing pumpkin display with these easy DIY steps.
Our own summary of the original — the full post and photos live at threedifferentdirections.com.
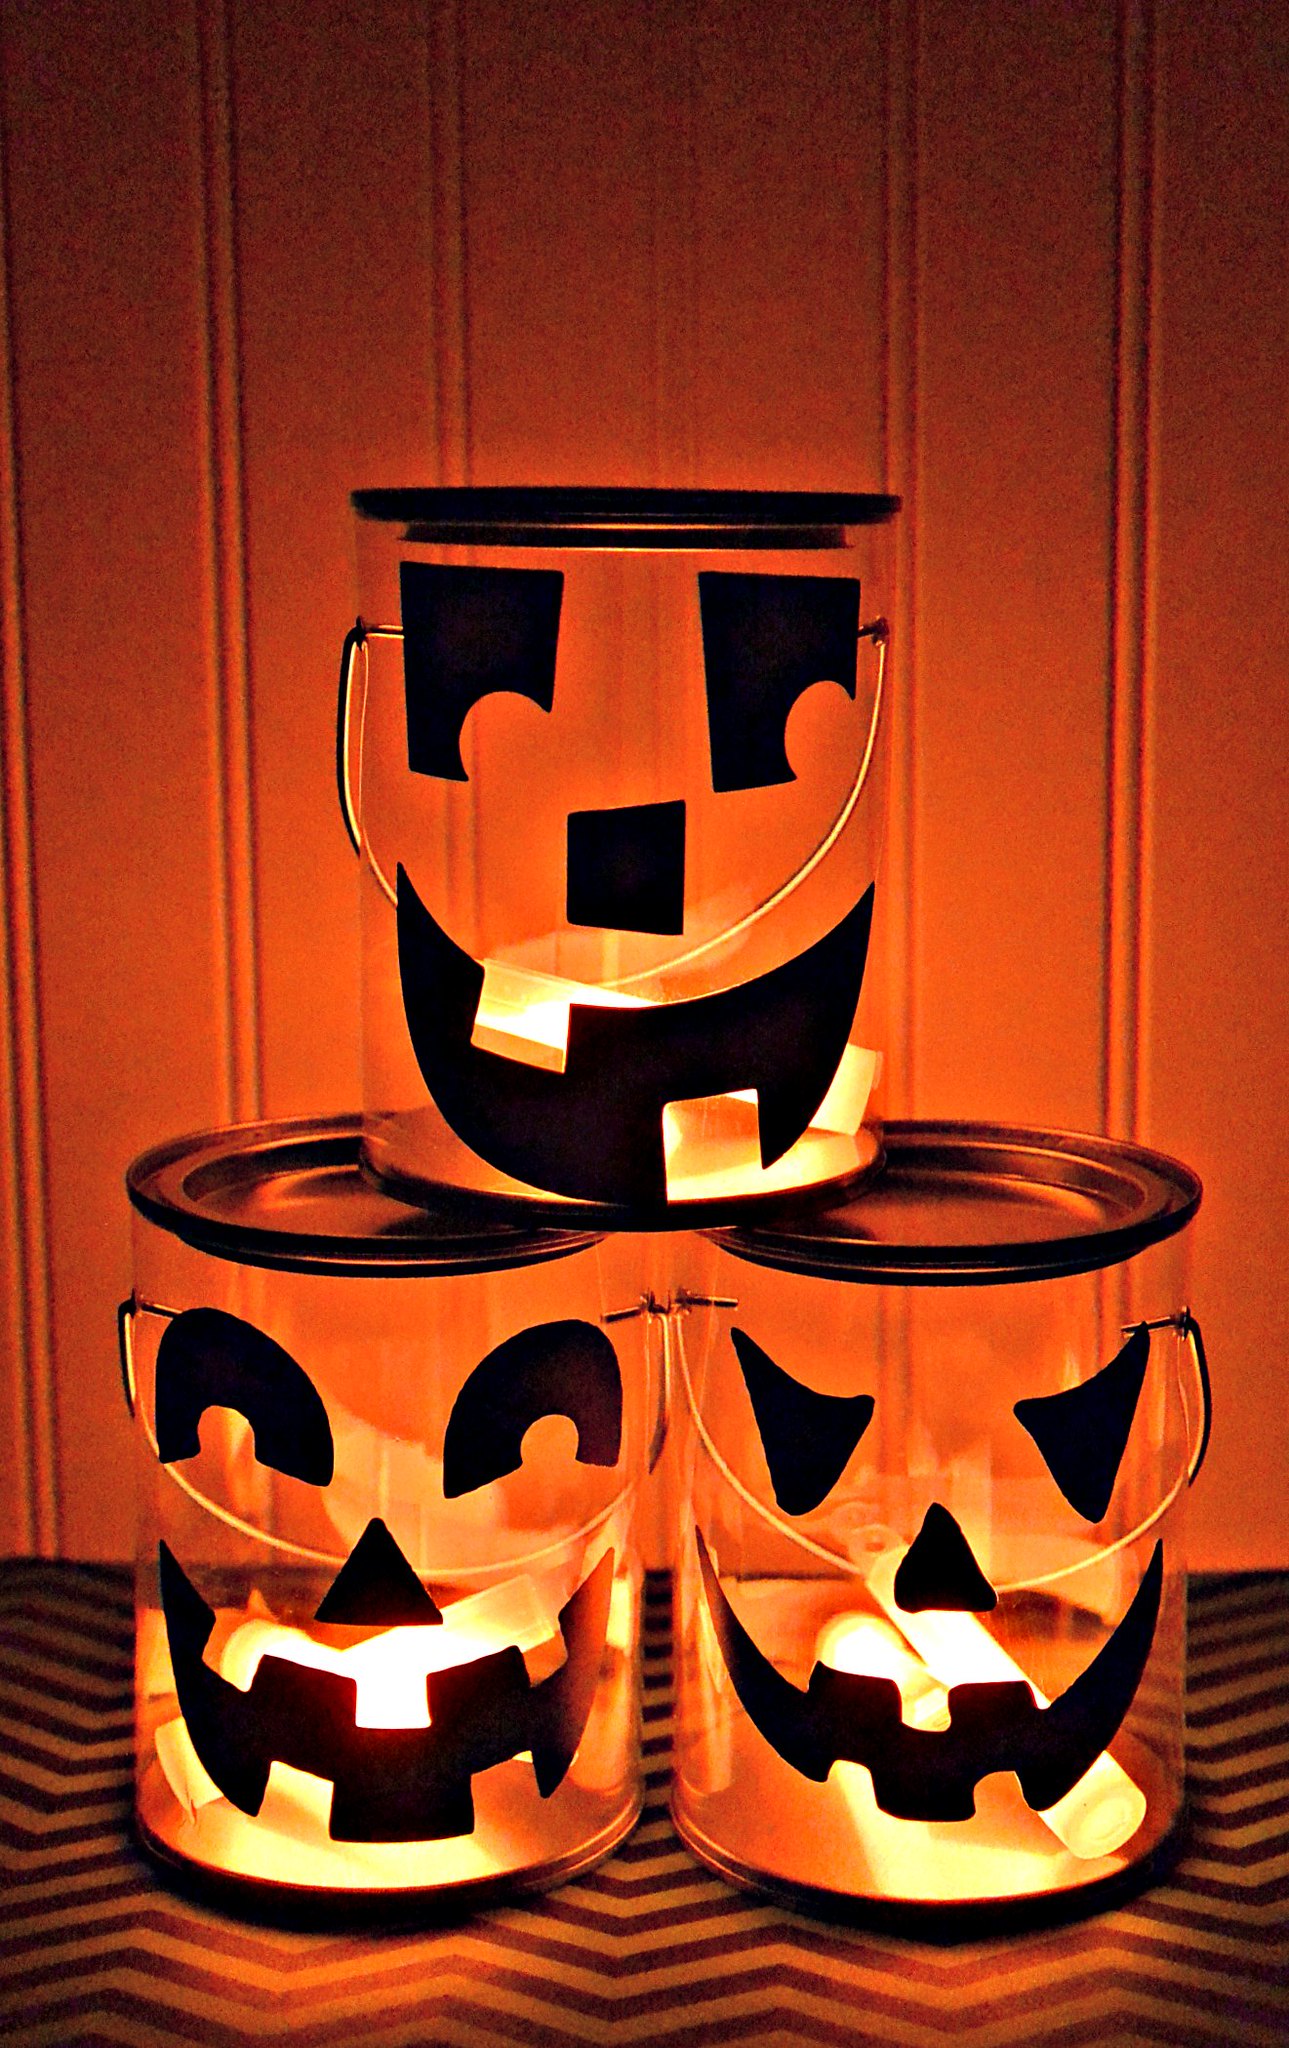
This project guides you through creating a luminous Halloween decoration using a bucket, black paper or felt for facial features, orange premium glow sticks, alphabet stickers, orange tulle circles, and a battery-operated tea light. The process involves cutting and gluing the pumpkin face, activating and inserting the glow sticks, arranging the stickers to spell a word, fluffing and placing the tulle circles inside, and finally adding the tea light for illumination.
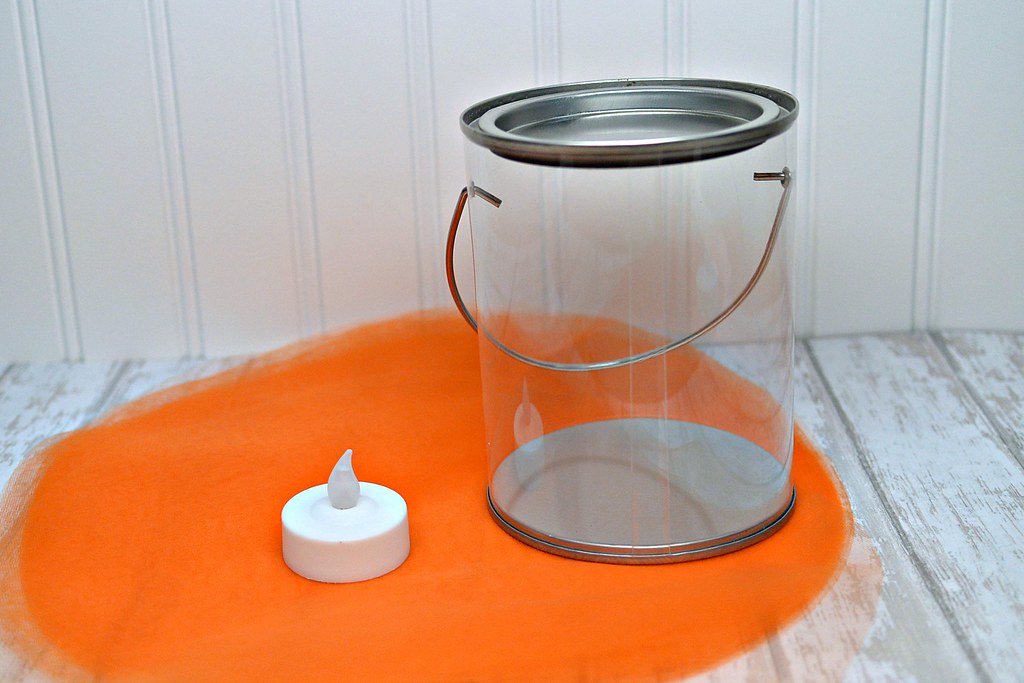
You'll need
Directions
- Using scissors, shape the black paper or felt into classic pumpkin facial features—two eyes and a grinning mouth. Press these cutouts firmly onto the exterior of the bucket with glue.
- Snap the orange premium glow sticks to start them, then drop two of them inside the container.
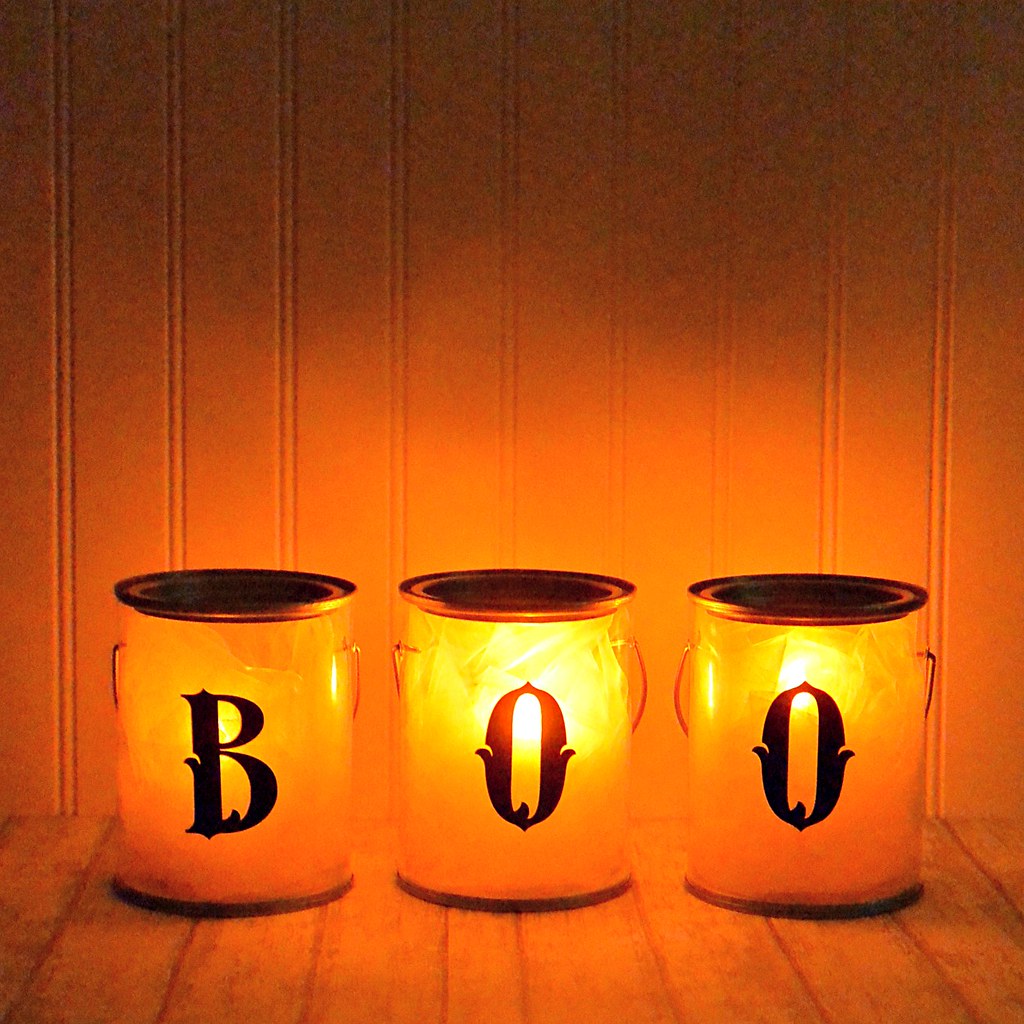
- Arrange the 3-inch high alphabet stickers on the surface to spell out your preferred Halloween phrase, such as 'BOO'.
- Fluff the orange tulle circles apart and gently place roughly six of them inside the bucket, filling the space without packing them too tightly.
- Switch on a battery-operated tea light and place it inside the bucket to illuminate the display.
More photos

Photos hosted by threedifferentdirections.com.