Kids CraftsNo. 7259 · The 2026 edition
Spooky DIY Halloween Decorations: Fun Family Craft Project
Our own summary of the original — the full post and photos live at soapdelinews.com.

You'll need
Directions
- First, mold the clay into different shapes — something similar to intestines, a finger, a stomach, a rat. Or try your hand at an alien type leech fetus thing similar to what my son came up with.
- After you’ve molded the components that will used inside the mason jars for your Halloween decorations, set the clay aside to dry. I recommend that you wait at least 24 hours. However, you may need more time if your clay objects are especially thick. TIP: Turn the sculptures over halfway through drying so they dry more evenly.
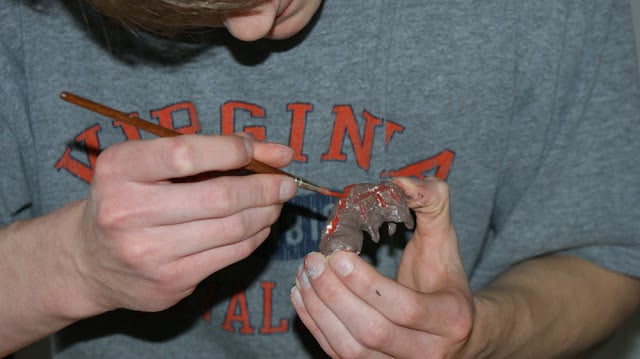
- Once the sculptures dry, paint them with acrylic paints. Since we were going for dead, preserved body parts, we stuck to the colors white, gray, black, brown, and red.
- After you paint the clay sculptures you designed for you spooky Halloween decor, set them aside to dry.
- When the paint on the clay object has dried, spray the sculptures with a clear acrylic sealer on all sides. I used two coats of sealer as we planned on immersing the final product in a liquid.
- Once the acrylic sealer dries, place the faux organs into mason jars to create Halloween home decor. TIP: If you don’t want your clay sculptures floating or moving around inside the jars — or you want one particular set view — you can glue them into the jars using E6000 glue.
- Choose a liquid to mimic the formaldehyde or embalming fluid in the mason jars.
- Next, fill each of the mason jars with wine to the level of your liking. You can fill them up to the top or half way.
- Finally, all that’s left is to tightly screw the lids onto the jars. TIP: If desired, you can also print out poison apothecary labels for your jars.
More photos



Photos hosted by soapdelinews.com.