Kids CraftsNo. 5690 · The 2026 edition
Easy Halloween Craft Pumpkin Witch Hat
Transform a simple foam pumpkin and an unfinished hat into a festive Halloween centerpiece with this quick and easy craft project!
Our own summary of the original — the full post and photos live at tidymom.net.
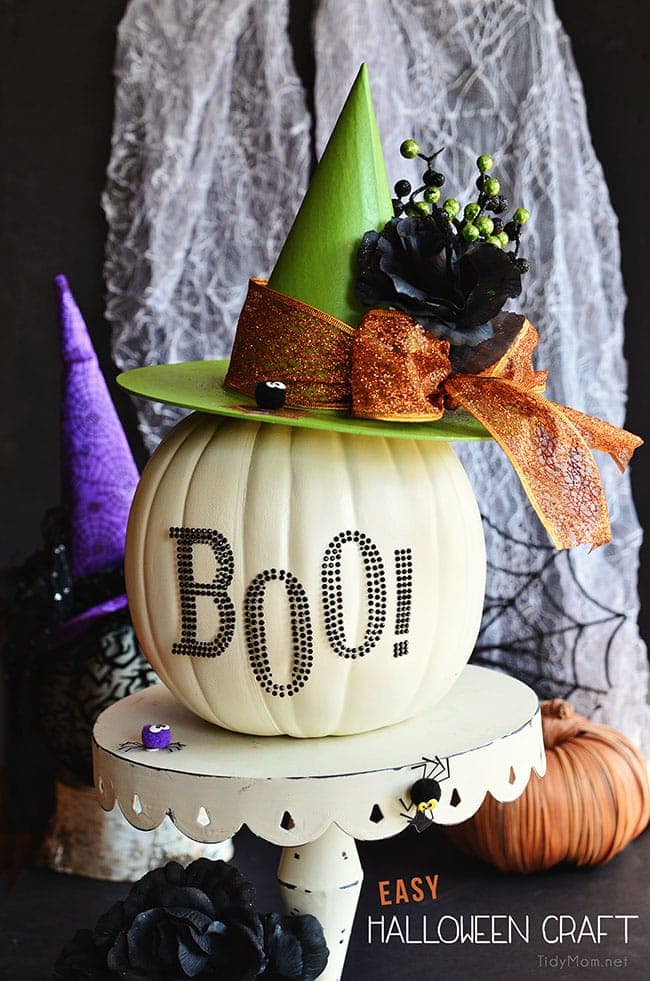
This project guides you through painting an unfinished witch hat, decorating a white pumpkin with a 'BOO!' decal, and adding wired ribbon, floral picks, and a faux spider to create a charming seasonal display.
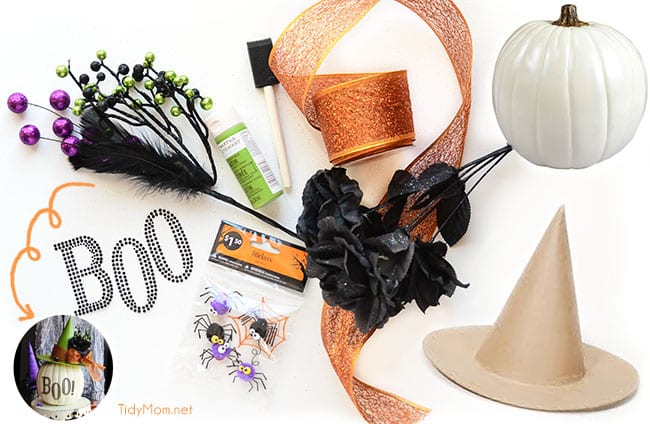
You'll need
Directions
- Lay down a protective layer using newspaper, an old towel, or wax paper. Apply two even layers of your chosen craft color to the bare witch hat with a sponge brush, then let it rest for roughly 15 minutes until the surface is dry.
- While the hat is curing, focus on the pumpkin. Adhere the 'BOO!' rhinestone decal to the white surface. If you cannot locate that specific sticker, feel free to personalize the pumpkin with vinyl eyeglasses or any other decorative elements you prefer.
- Cut a length of wired ribbon long enough to encircle the hat and form a bow. The wired edges help the ribbon hold its shape, making it easier to create a full, sturdy bow. Secure the ribbon around the hat and gently separate the loops to fluff them up.
- Trim small sections from your Halloween floral picks and tuck them securely into the center of the ribbon bow. If the stems slip out, a dab of hot glue will keep them firmly in place.
- Position a fake spider on the hat's brim for a spooky touch. If your spider is not a self-adhesive sticker, apply a small amount of hot glue to attach it.
- Set the finished witch hat atop your decorated pumpkin and arrange it as part of your seasonal decor.
More photos

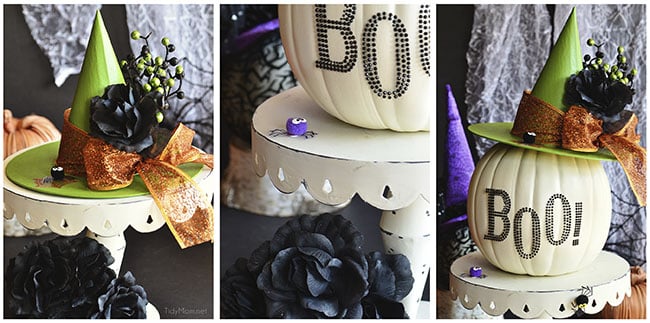
Photos hosted by tidymom.net.