Kids CraftsNo. 7030 · The 2026 edition
Halloween Painted Rocks
Turn ordinary rocks into spooky Halloween decorations with this easy painting craft!
Our own summary of the original — the full post and photos live at recipemagik.com.
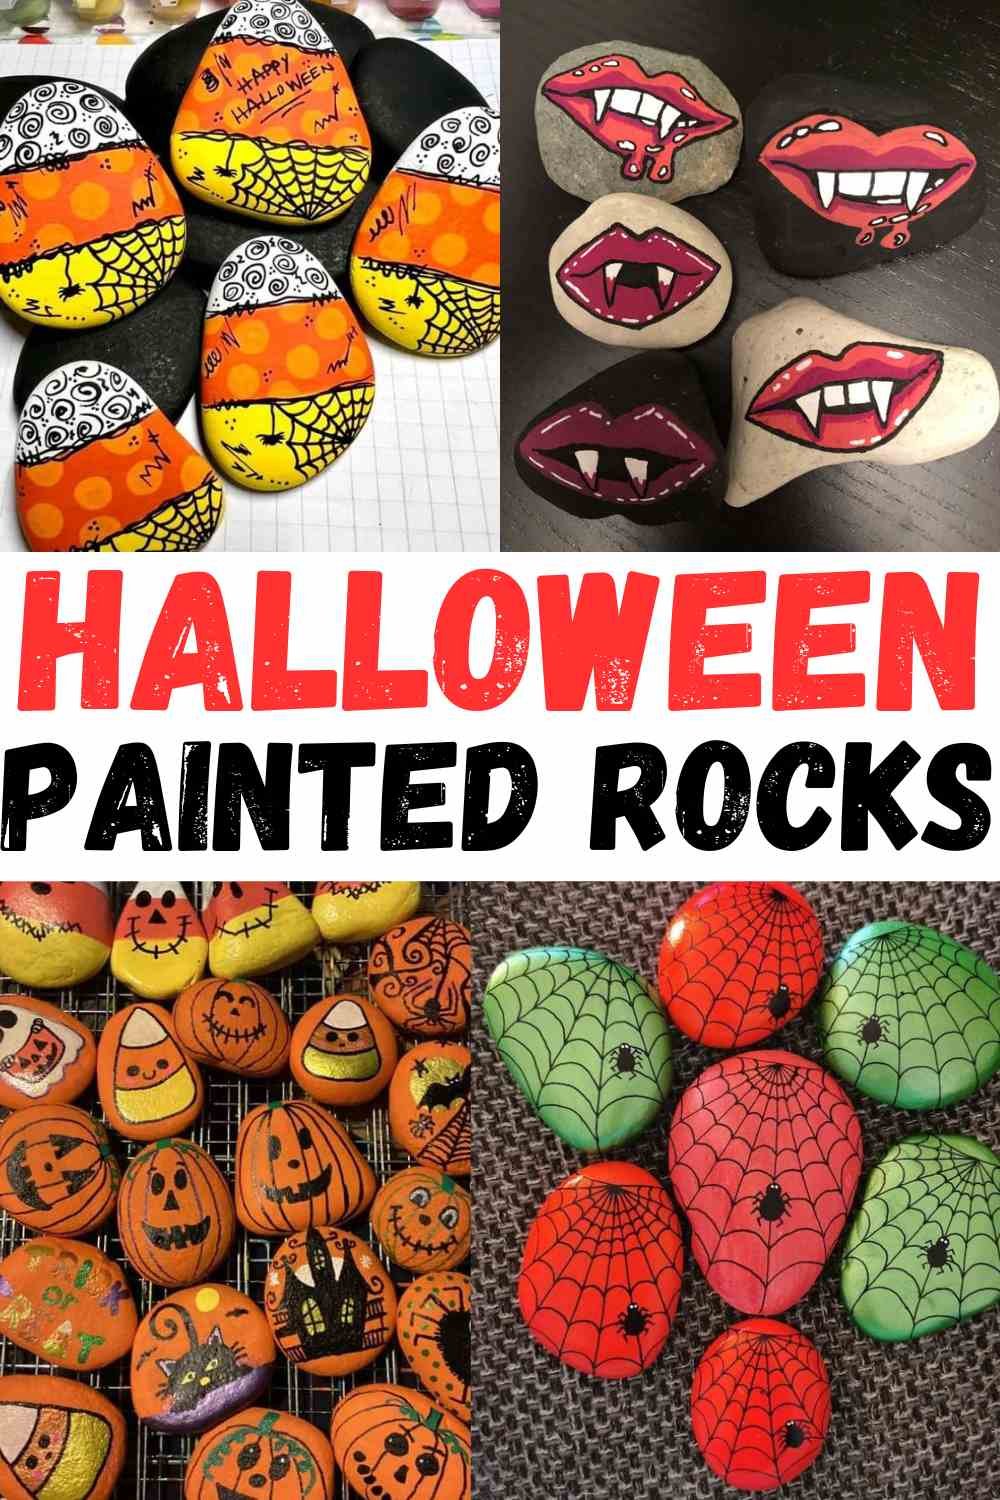
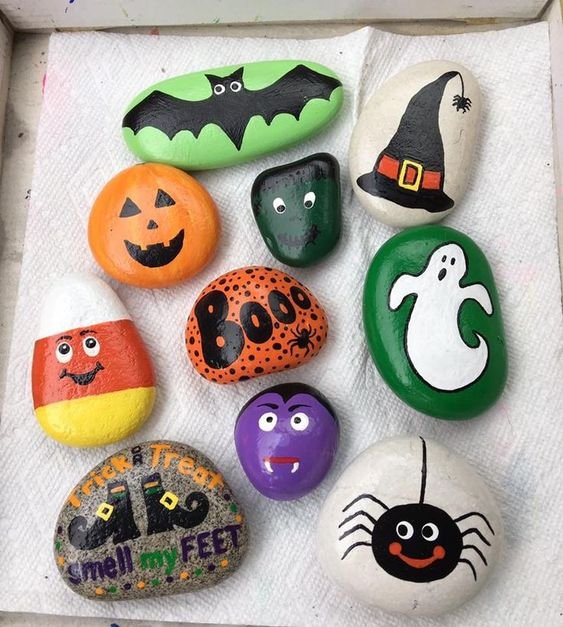
Learn how to prepare, paint, and seal smooth rocks with Halloween designs. From pumpkins to ghosts, this project uses acrylic paints and simple techniques. Display them at home or hide them in your neighborhood for a festive surprise.
You'll need
Directions
- Collect smooth flat rocks, clean them with water and let dry. Assemble acrylic paints, brushes, sealant, and a protective covering like newspaper or a drop cloth.
- Wash rocks with soap and water, scrubbing away dirt. Rinse thoroughly and allow to fully dry. If the rock surface is uneven or absorbs paint, apply a white acrylic base coat to even it out.
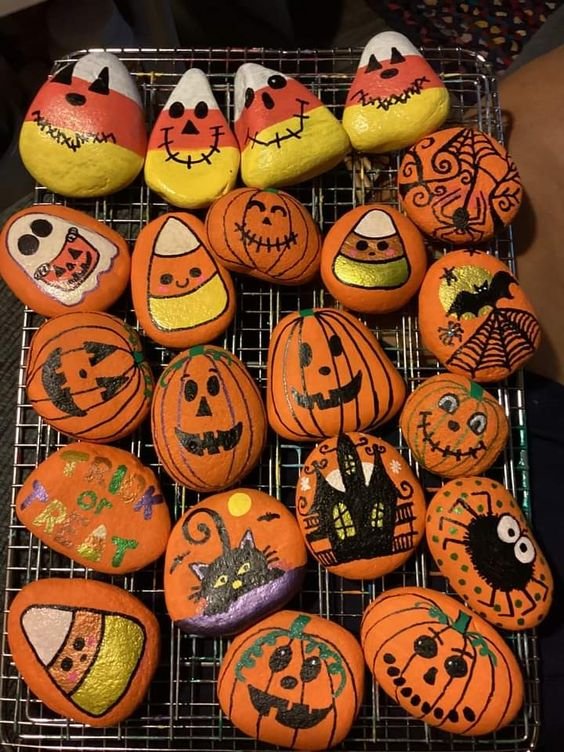
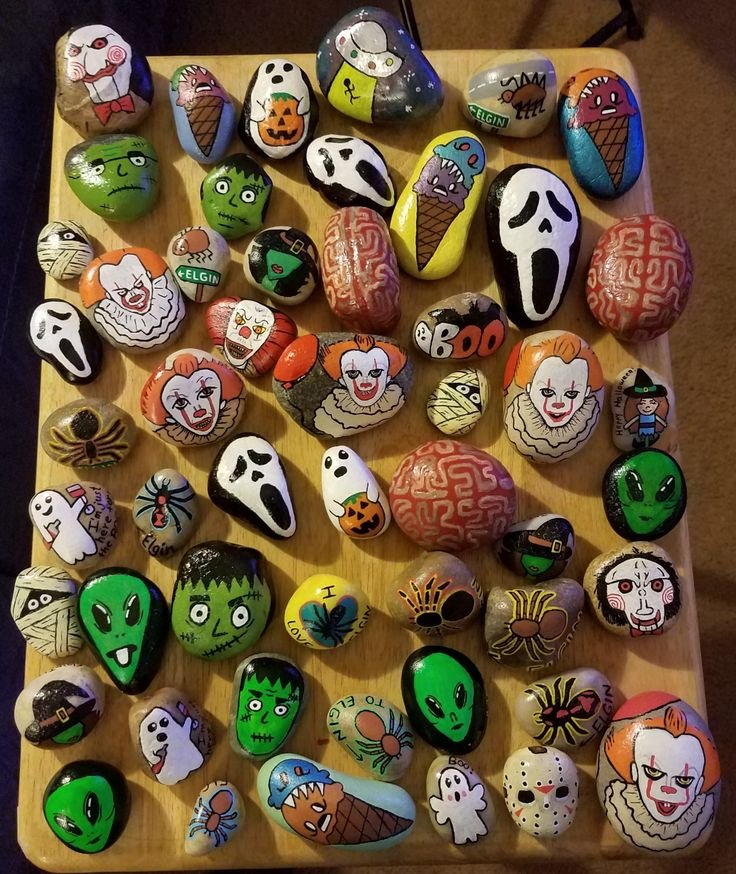
- Brainstorm Halloween motifs such as jack-o'-lanterns, spooks, witches, bats, or eerie phrases. Lightly draw your design on the rock with a pencil as a guide.
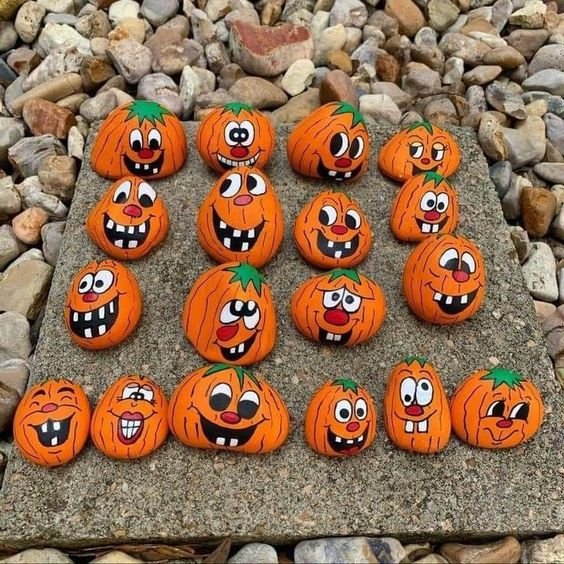
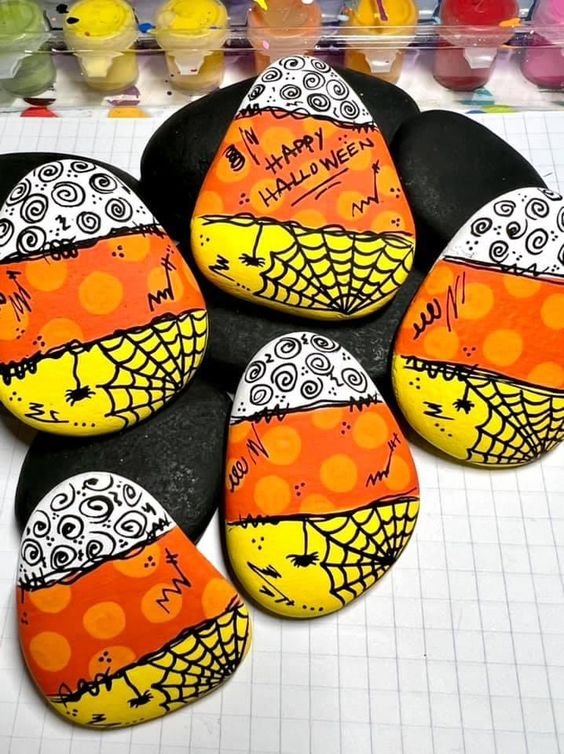
- Apply a foundation layer of paint (e.g., orange for a pumpkin). Wait until it's completely dry before adding more layers. Use small brushes or paint markers for intricate features (like a white ghost with black eyes). Let each layer dry to avoid smudges.
- Achieve bright hues by building up layers, letting each dry fully. For color gradients, blend while the paint is still wet. If freehanding is tricky, hold a stencil in place and dab paint with a sponge or brush.
- Select a clear acrylic sealant (spray or brush-on). Work in a well-aired space. For spray, maintain a distance of 6-12 inches and apply light, even layers. If using a brush-on type, use a clean brush to spread a thin coat and let it dry completely.
- Showcase your painted rocks in a Halloween setup indoors or in the garden. Alternatively, hide them around your community to spread festive joy, optionally adding a note requesting people to snap a photo and post online.
- Wash brushes promptly with soap and water. Allow any remaining paint on your palette to dry, then scrape it off. Tidy your work area and discard used paper towels or protective covers.
More photos
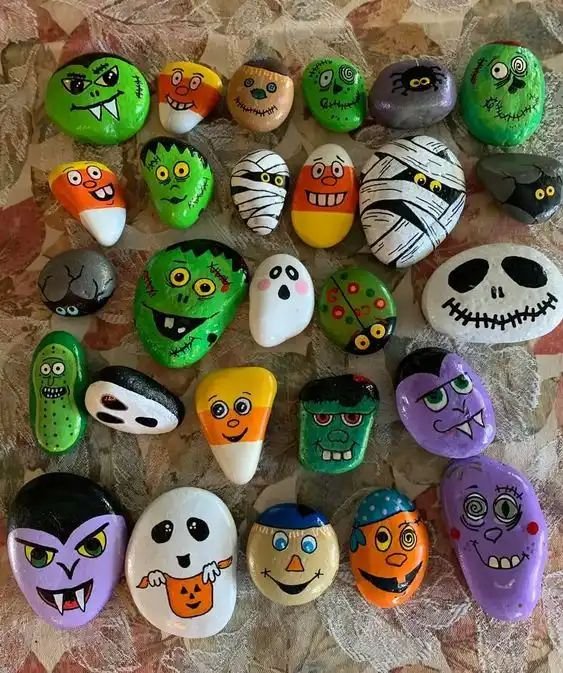
Photos hosted by recipemagik.com.