Upcycled & RecycledNo. 3748 · The 2026 edition
Haunted Dollhouse Tutorial to Make for Halloween
Transform a simple plastic dollhouse into a spine-chilling Halloween display with this easy DIY project! Using basic craft supplies and a few creative touches, you can create a spooky miniature scene
Our own summary of the original — the full post and photos live at ehow.com.
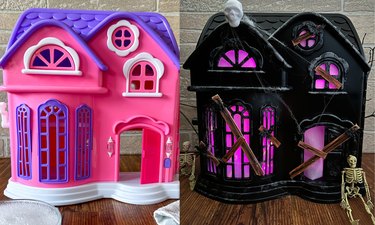
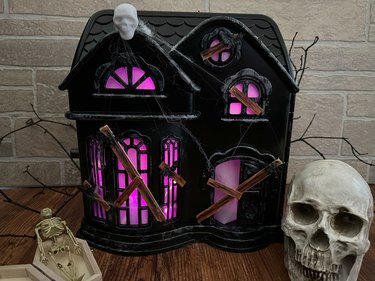
This tutorial guides you through transforming a standard plastic dollhouse into a haunted Halloween decoration. The process involves cleaning and black spray-painting the structure, adding weathered details with acrylic paints, covering windows with parchment paper, painting craft sticks for barricades, and decorating with plastic bats, spiders, skulls, and faux spiderwebs. Optional purple lights can be added for an eerie glow.
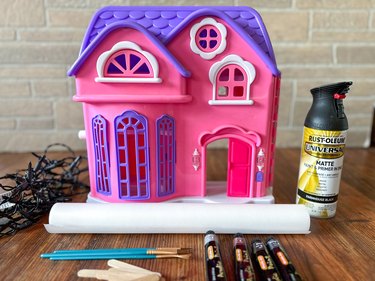
You'll need
Directions
- Begin by thoroughly cleaning the plastic dollhouse structure, then allow it to dry completely before proceeding.
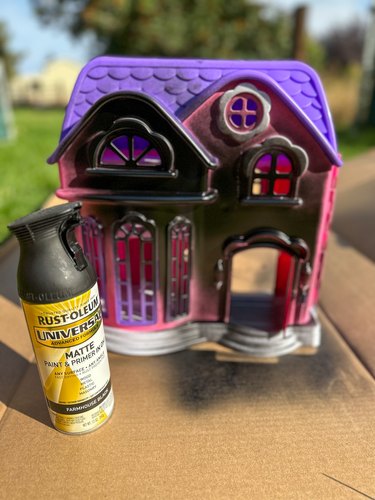
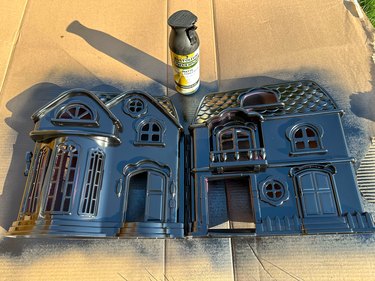
- Apply a coat of black spray paint designed for plastic surfaces to give the exterior a dark, eerie finish.
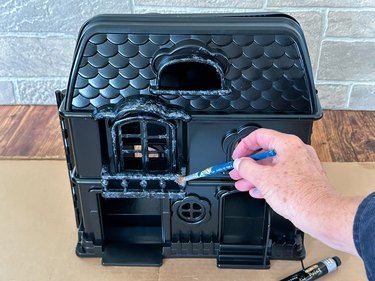
- Use gray, brown, and black acrylic paints along with small brushes to create weathered textures, peeling paint effects, and other spooky details on the walls and roof.
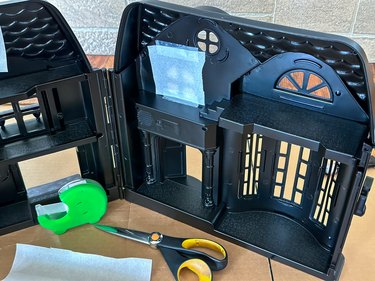
- Cut pieces of parchment paper to fit each window opening and secure them in place with tape to simulate boarded-up or covered windows.
- Paint several craft sticks with black acrylic paint to create makeshift barricades or decorative elements.
- Attach plastic bats, spiders, and skulls around the structure, then drape faux spiderwebs across corners and railings to complete the haunted look.
- If desired, place purple lights inside the dollhouse to add a glowing, supernatural ambiance.
More photos
Photos hosted by ehow.com.