Decoupage & GlitterNo. 9893 · The 2026 edition
Mickey Mouse Pumpkins
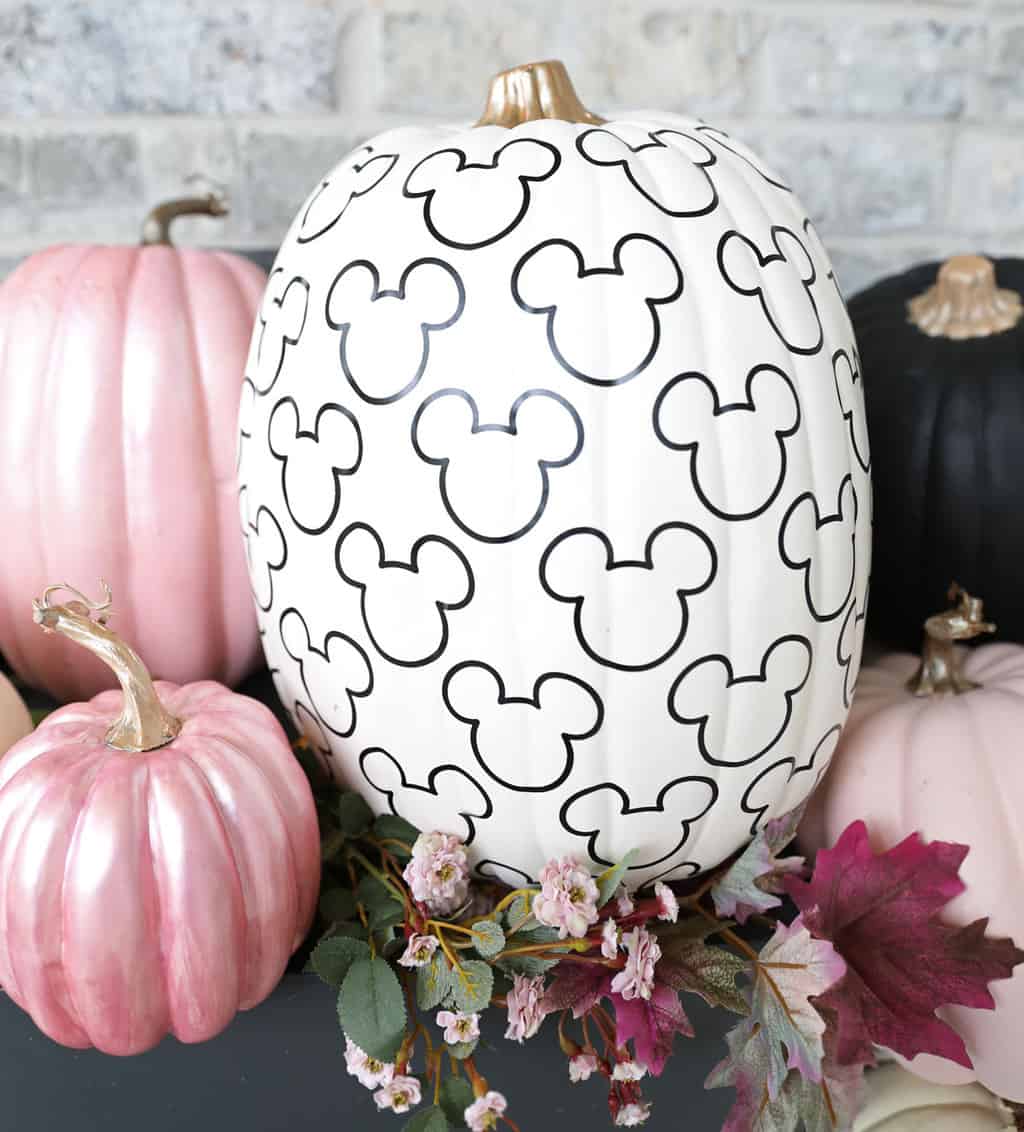
Turn your pumpkin into a Disney icon with these easy steps for a Mickey Mouse-themed Halloween decoration.
Our own summary of the original by Pretty Providence — the full post and photos live at prettyprovidence.com.
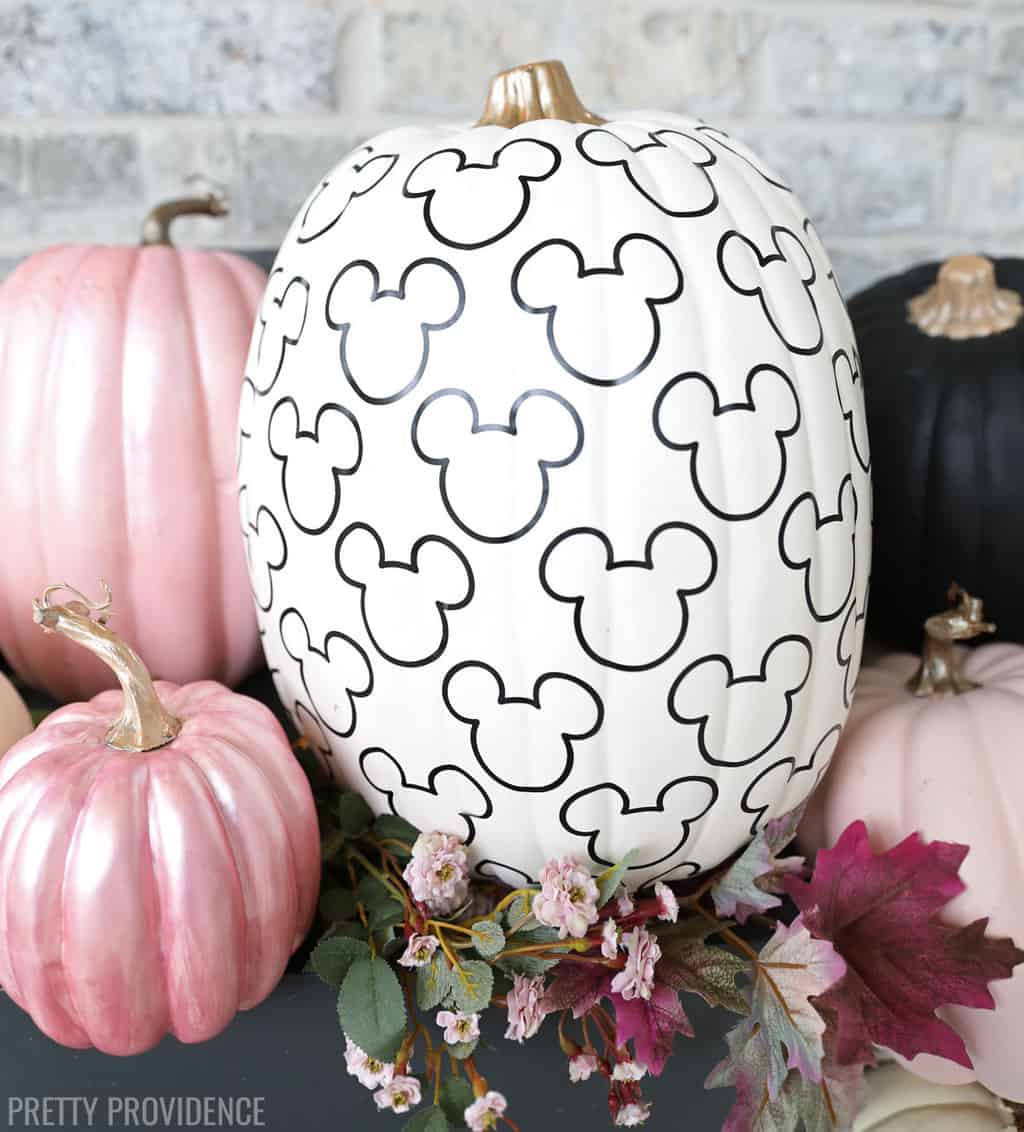
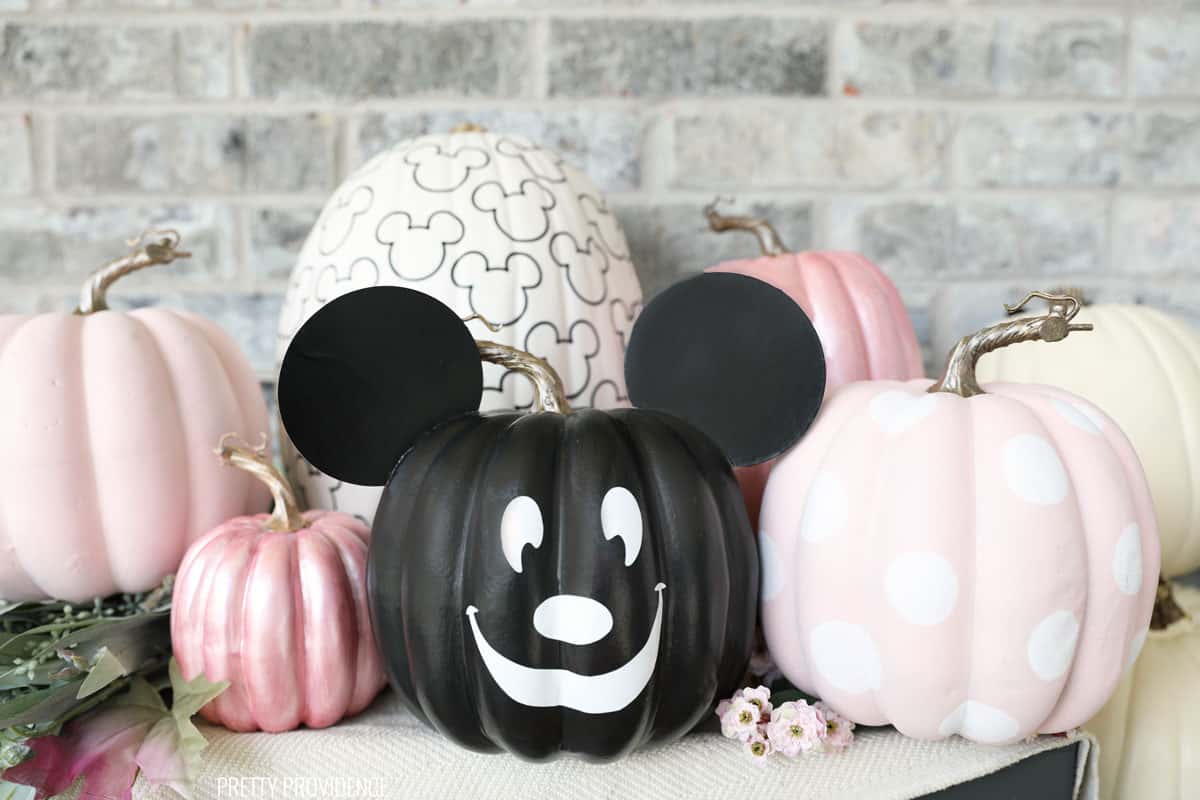
Create a charming Mickey Mouse pumpkin using black vinyl cutouts or hand-painted silhouettes. Start by applying a pink base with white polka dots, then add multiple Mickey shapes across the surface. Whether you use a Cricut or trace by hand, this project yields a fun, festive result.
You'll need
Directions
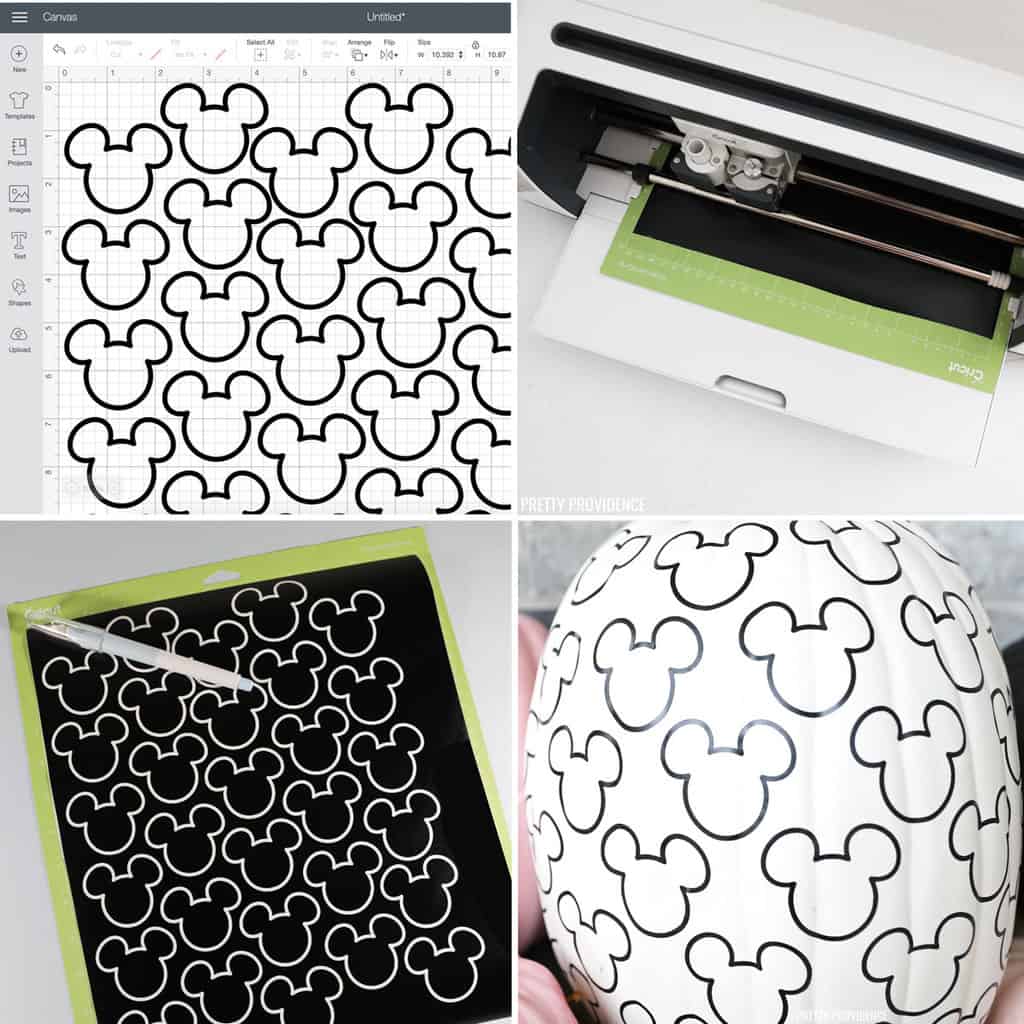
- Upload the Mickey Mouse SVG file to Cricut Design Space.
- Stick a sheet of black vinyl onto a standard grip cutting mat.
- Use Design Space's instructions to cut the vinyl shape.
- Remove the excess vinyl (weed) and transfer each Mickey shape onto your pumpkin one by one.
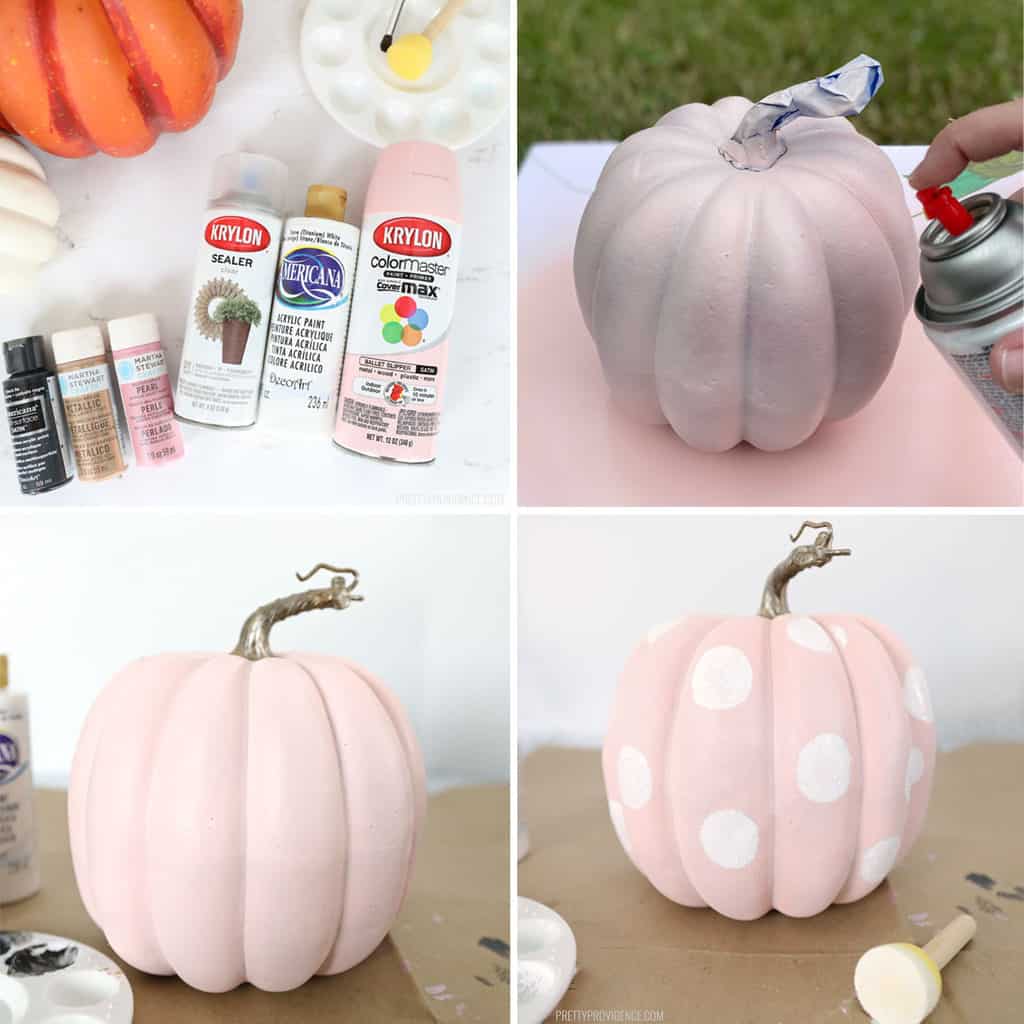
- Cover your craft pumpkin with pink spray paint (if working outside) or brush on pink acrylic paint.
- Once the pink paint dries, dip a dot foam brush into white paint and apply polka dots across the pumpkin's surface.
- Allow the white paint to dry thoroughly before moving the pumpkin outdoors.
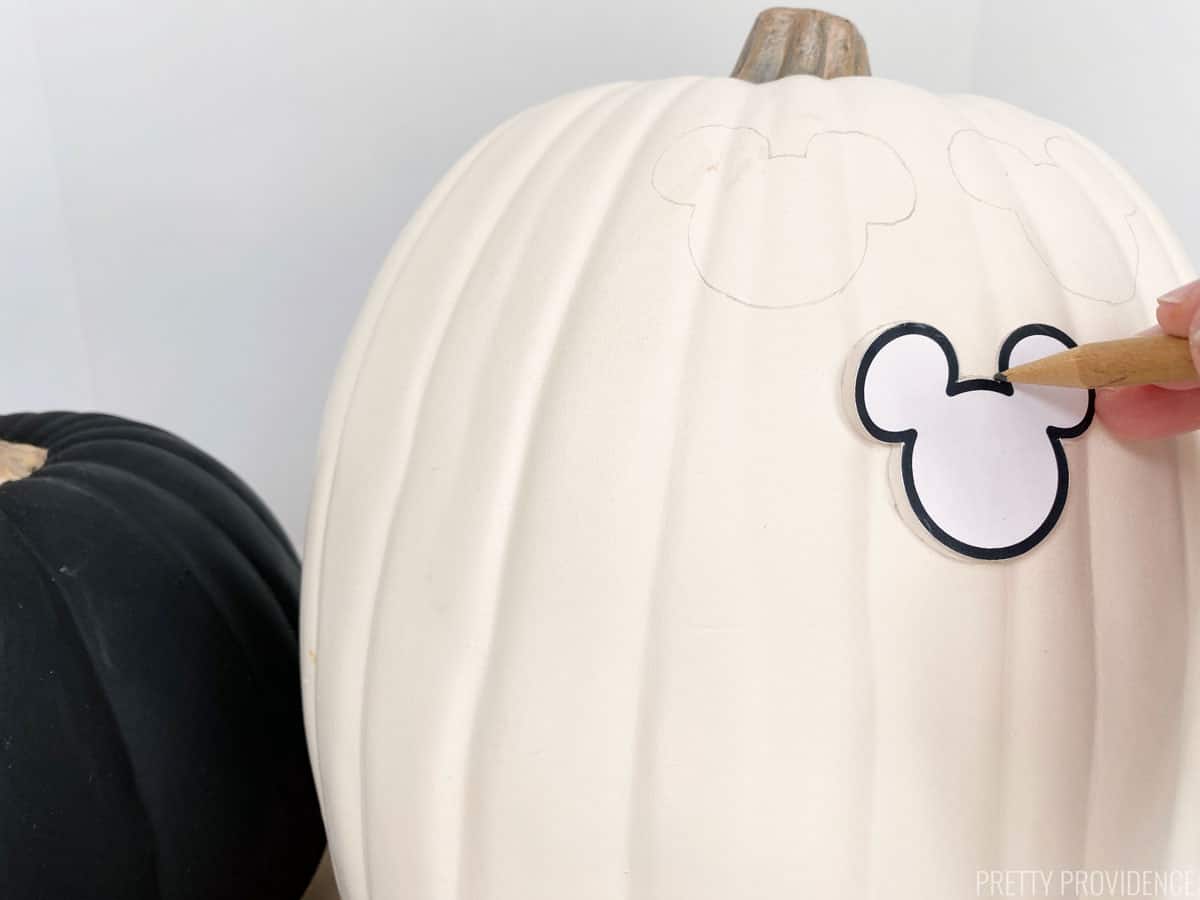
- Print the included Mickey Mouse template and cut out the shape.
- Use a pencil to trace the Mickey silhouette repeatedly around your pumpkin.
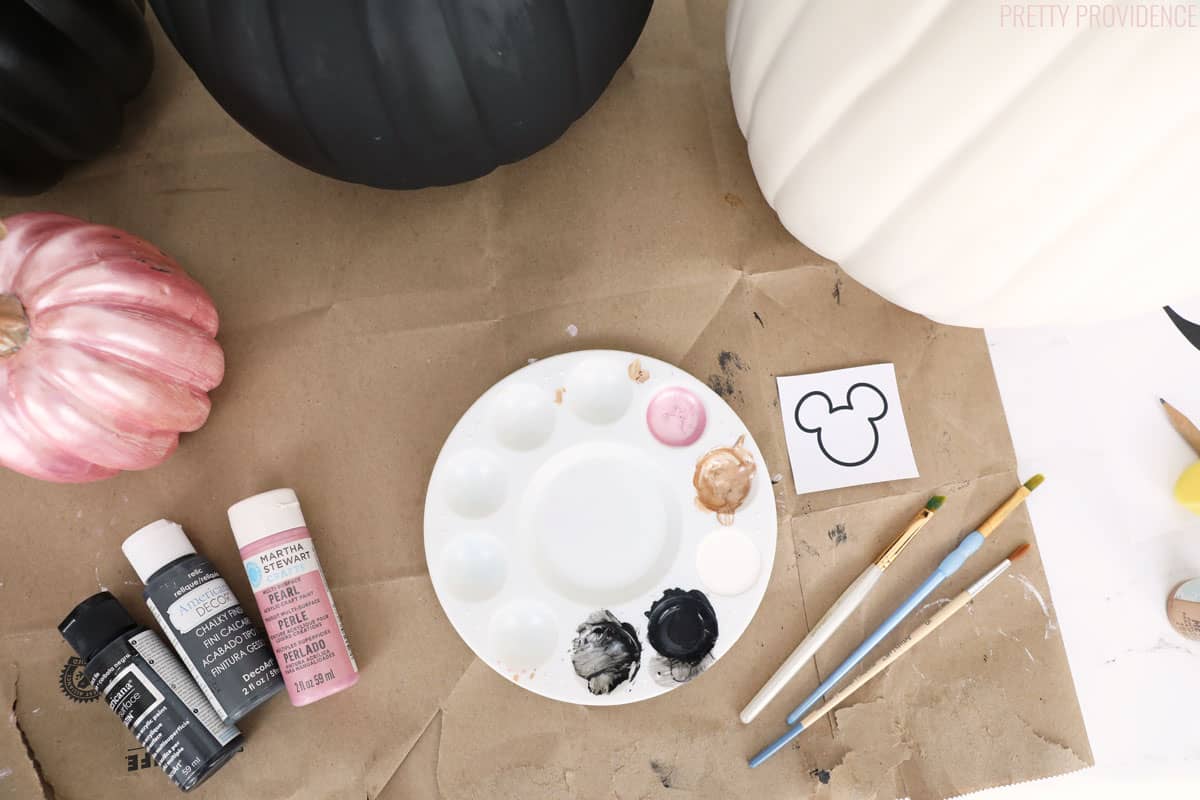
- With a fine paintbrush, fill in the traced Mickey outlines with black acrylic paint.
- As an alternative, you can outline and fill the Mickey shapes using a black Sharpie or a paint marker.
- Wait for all paint to fully dry, then proudly display your creation.
More photos
Photos hosted by prettyprovidence.com.