Kids CraftsNo. 3472 · The 2026 edition
Pumpkin Bubble Wrap Art
Transform ordinary craft supplies into a spooky seasonal masterpiece with this easy bubble wrap printing technique.
Our own summary of the original — the full post and photos live at littlebinsforlittlehands.com.
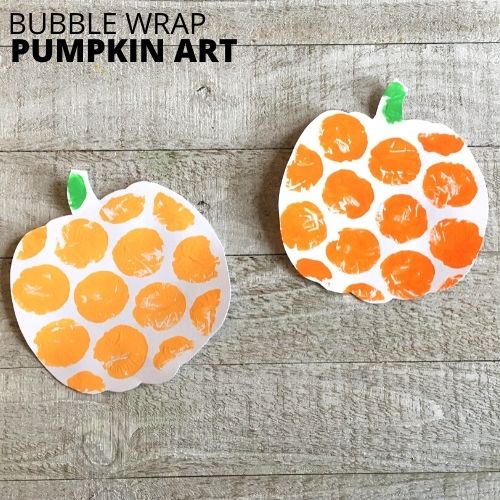
This project uses bubble wrap, paint, paper, and tape to create a textured pumpkin print by applying color to the plastic, pressing paper onto it, and letting it dry.
You'll need
Directions
- Trim the bubble wrap to your preferred dimensions.
- Secure the plastic sheet to a worktable with the rounded side facing upward.
- Apply your orange, black, and green paints directly onto the textured surface using a brush or by pouring.
- Lay a blank sheet of paper gently over the coated plastic.
- Press firmly across the entire paper to push the pigment through the bubbles.
- Lift the paper away to uncover your freshly stamped pumpkin design.
- Allow the finished piece to air dry until the colors are fully set.